9.3 KiB
| title | description | position | category | menuTitle |
|---|---|---|---|---|
| Table Operations | Table Operations: Row, Column, Quick Import, Export & Import | 510 | Product | Table Operations |
Once you have created a new NocoDB project you can open it, In the browser, the URL would be like example.com/dashboard/#/nc/<project_id>.
Table
Table Create
Now you can start creating new tables by simply clicking one of the following options.
- Click
Add new tablebutton - Hover
Add new tablebutton in table menu, click three dots, use Quick Import to create - Drag and drop CSV, JSON or Excel file to import
A modal will be popped up. Input the corresponding info and enable or disable default columns and click Submit button.
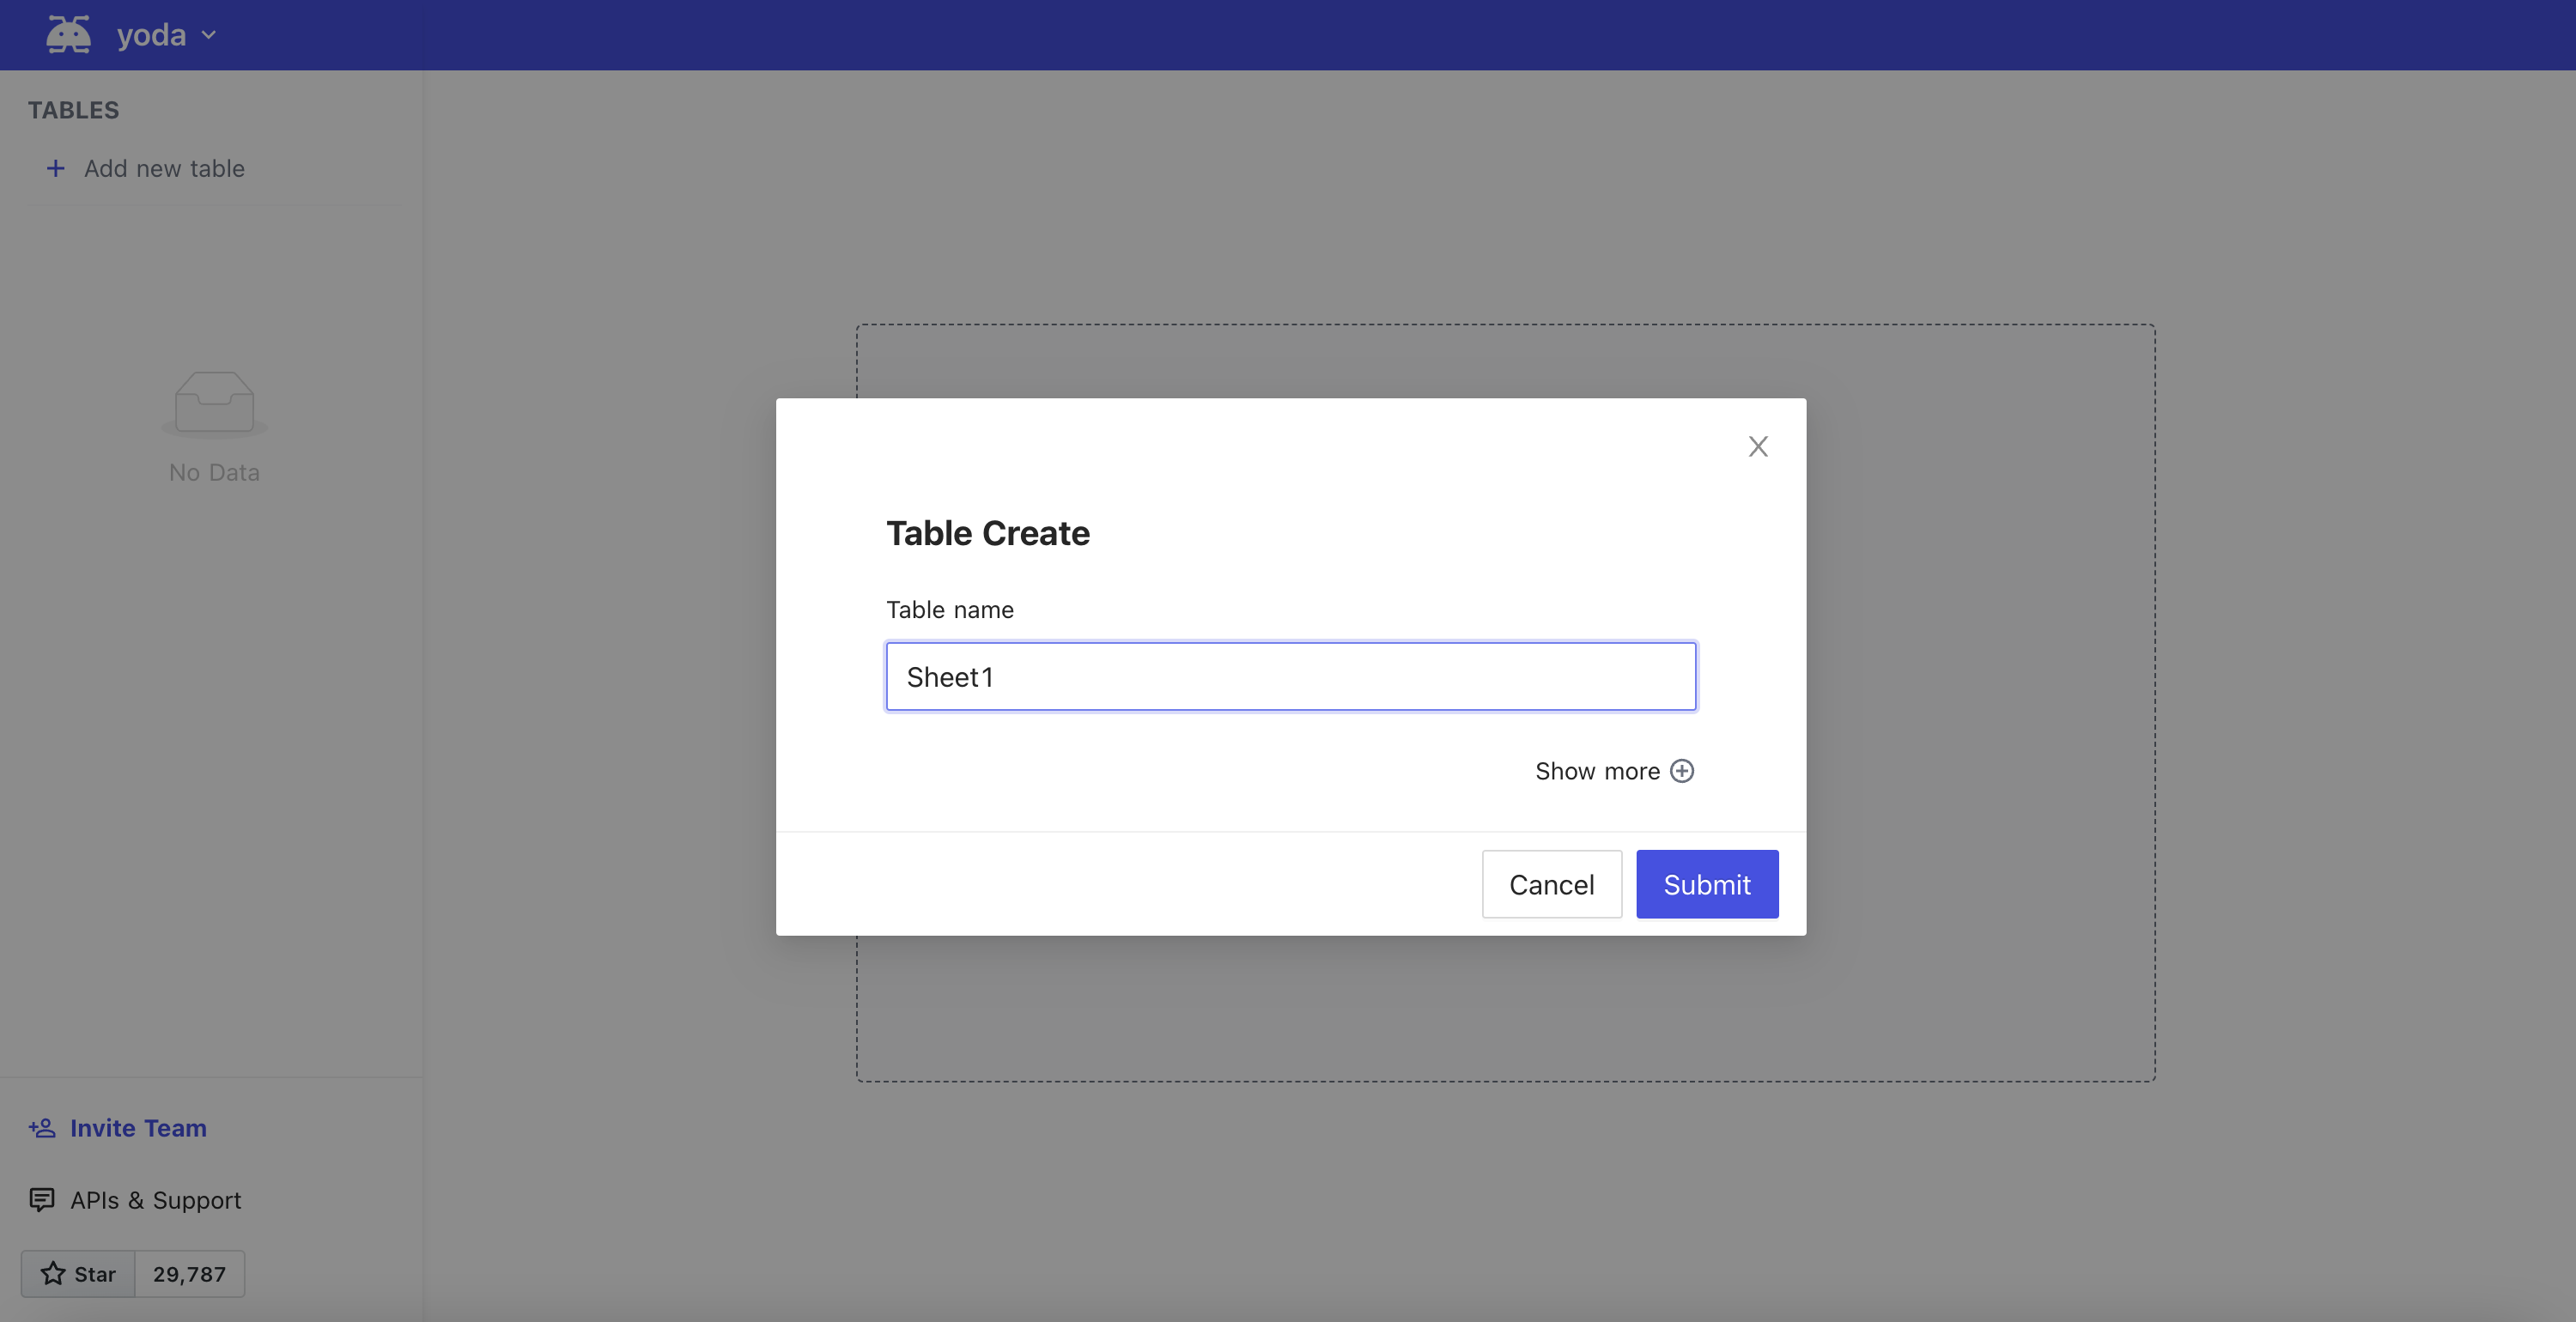
Click Show more for advanced settings.
Note: You can't disable the `id` column since NocoDB needs a primary column for every table. You can rename it after the creation.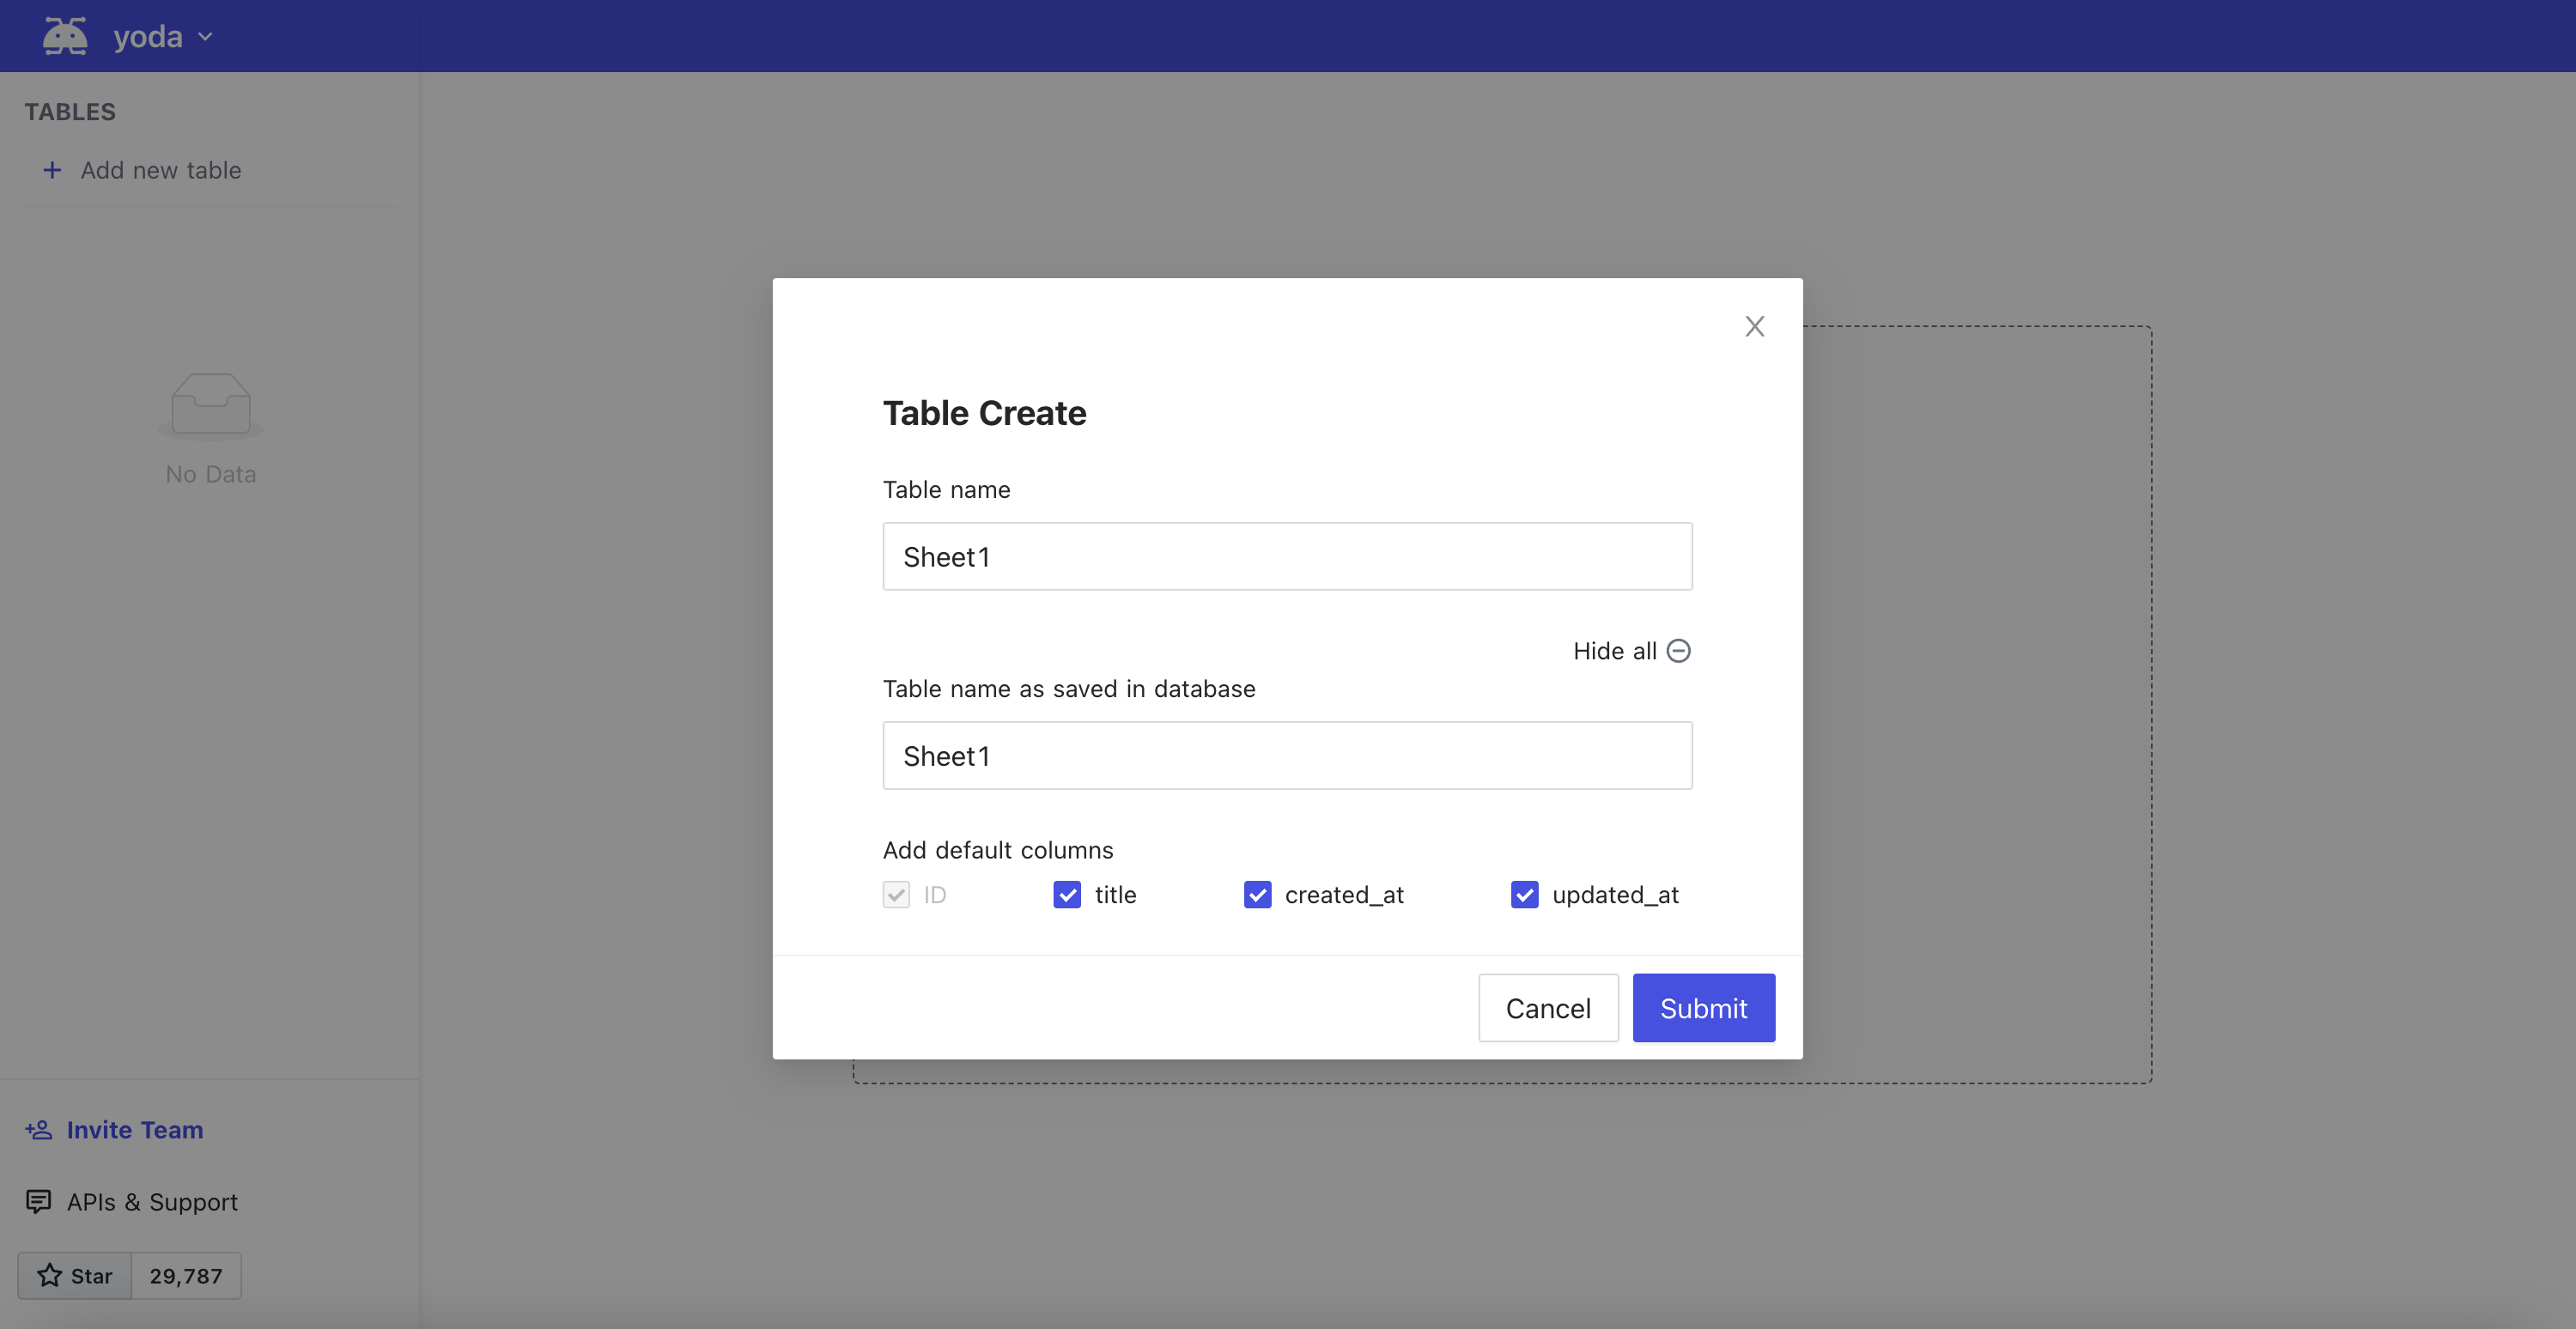
After the successful submission, the table will be created and open as a new tab.
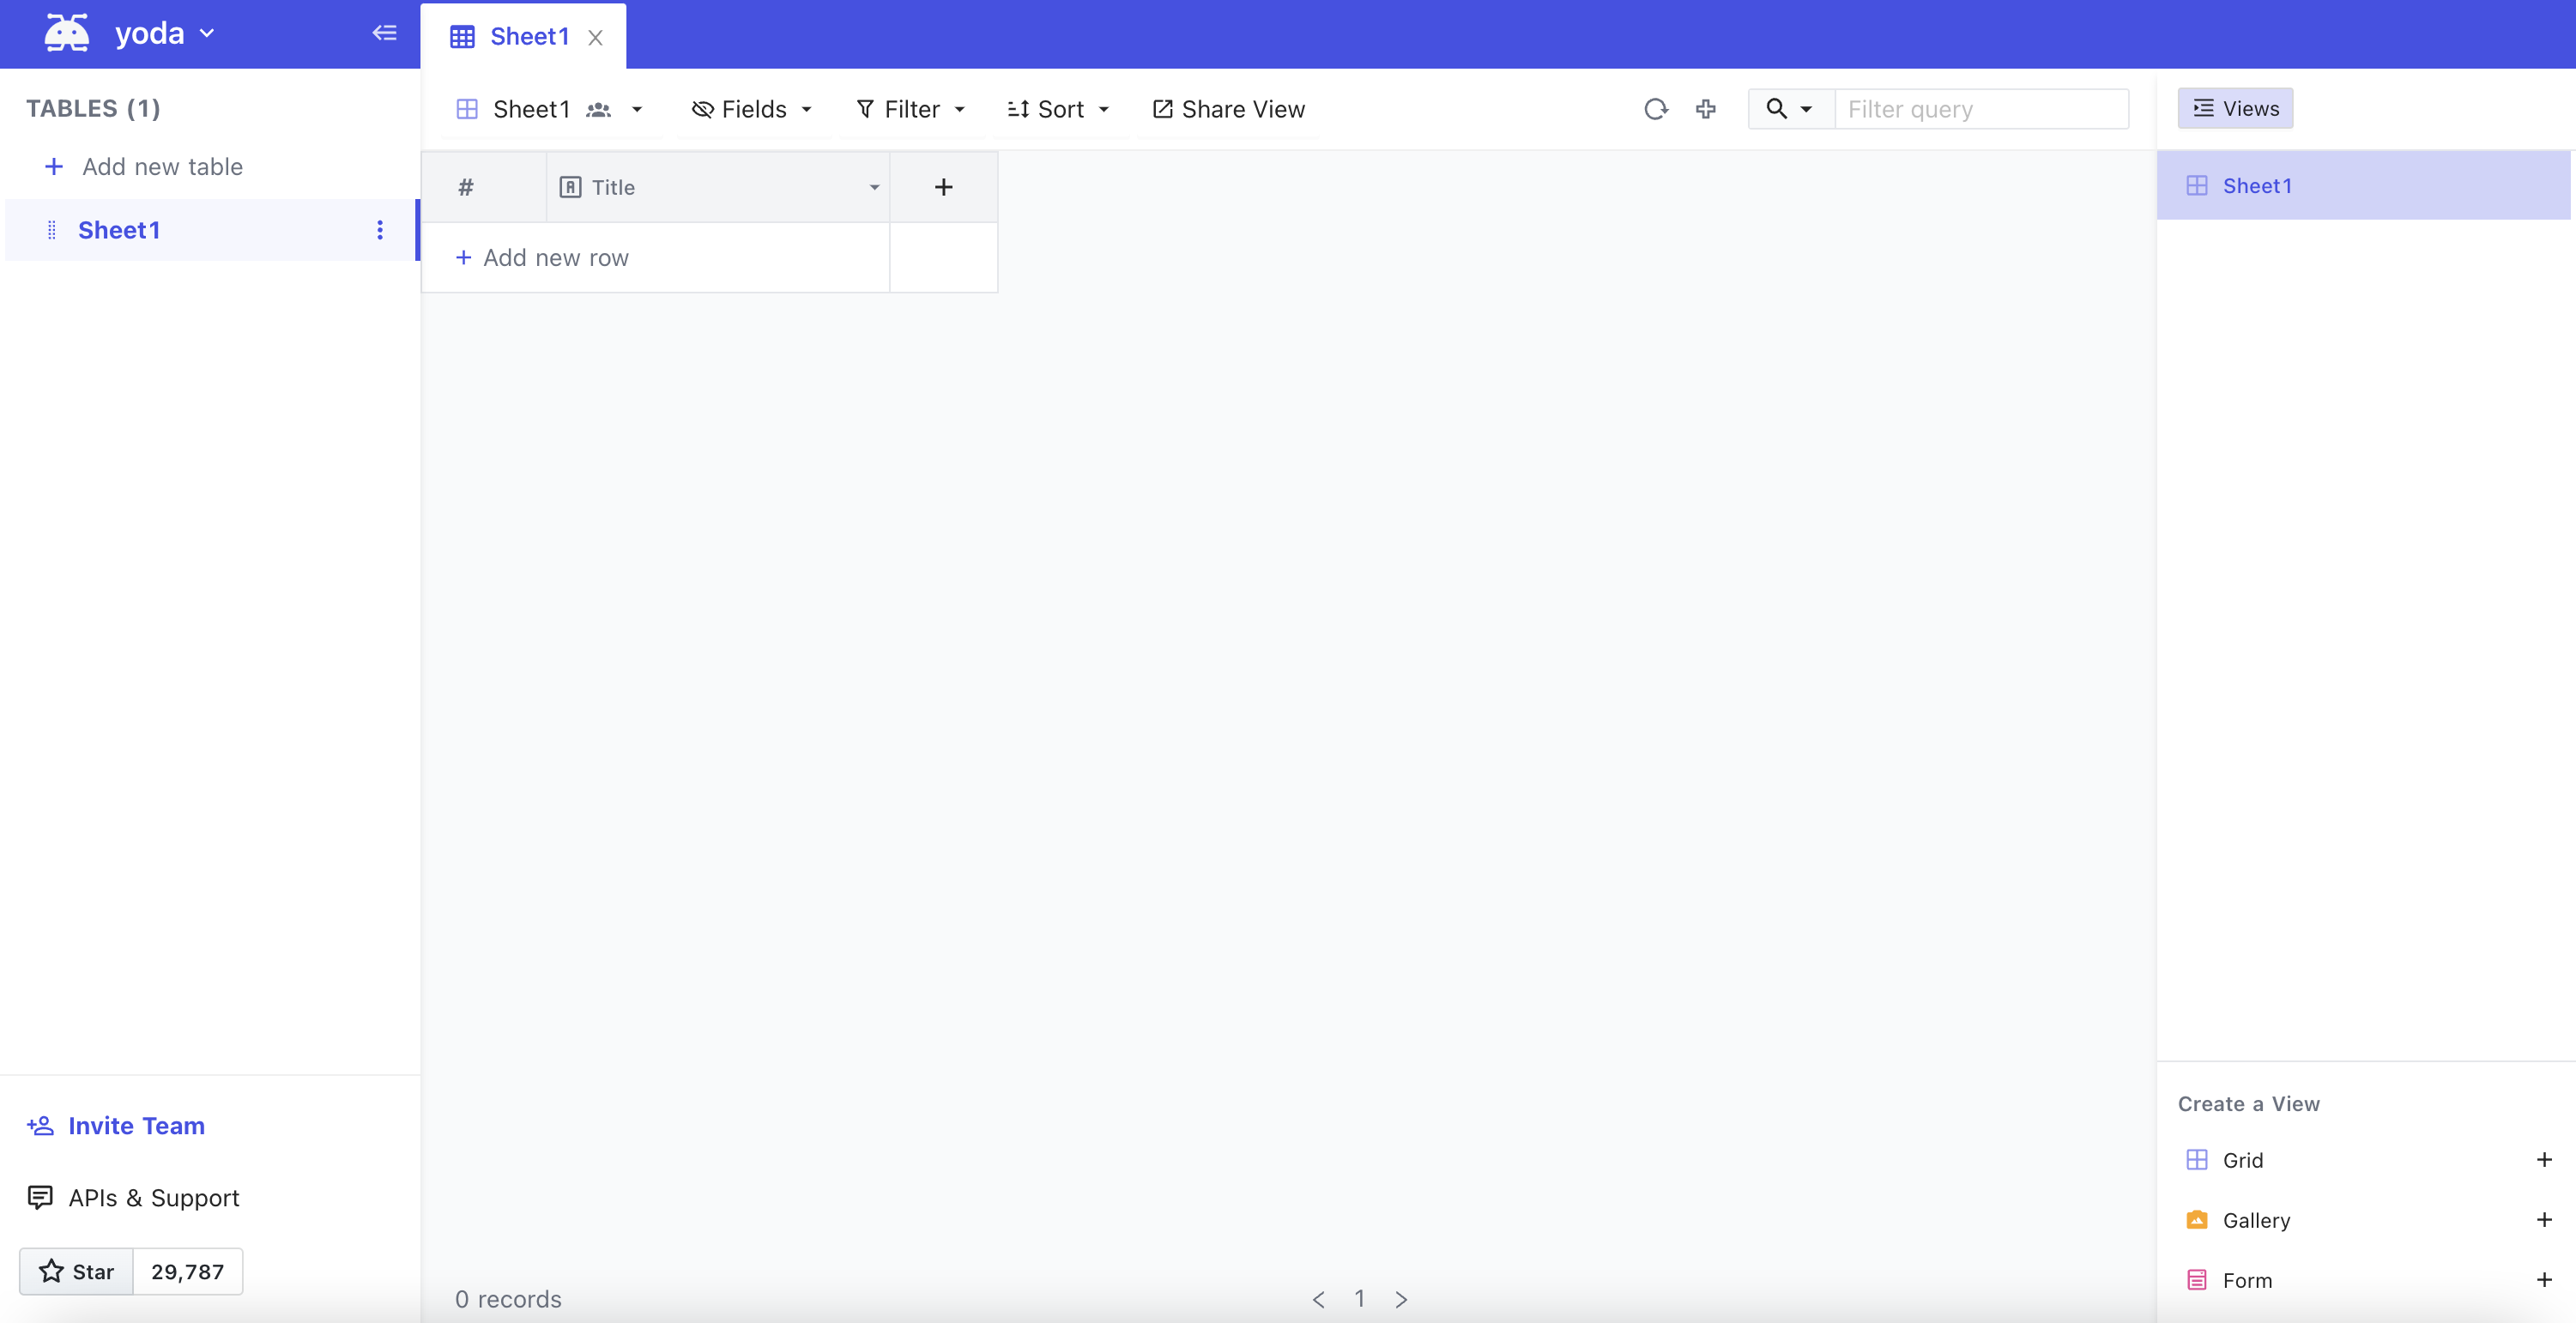
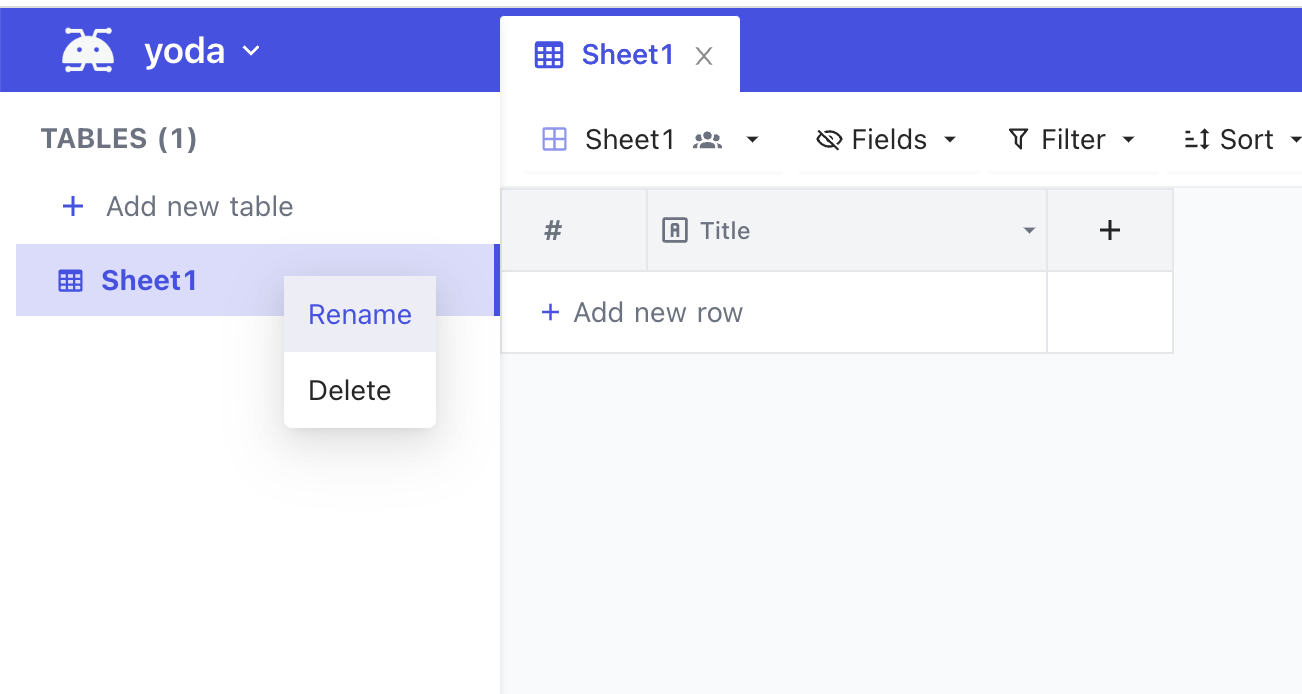
Table Rename
Right click on Table name on left hand project-tree menu, select Rename
In modal popup, enter new table name and click Submit button
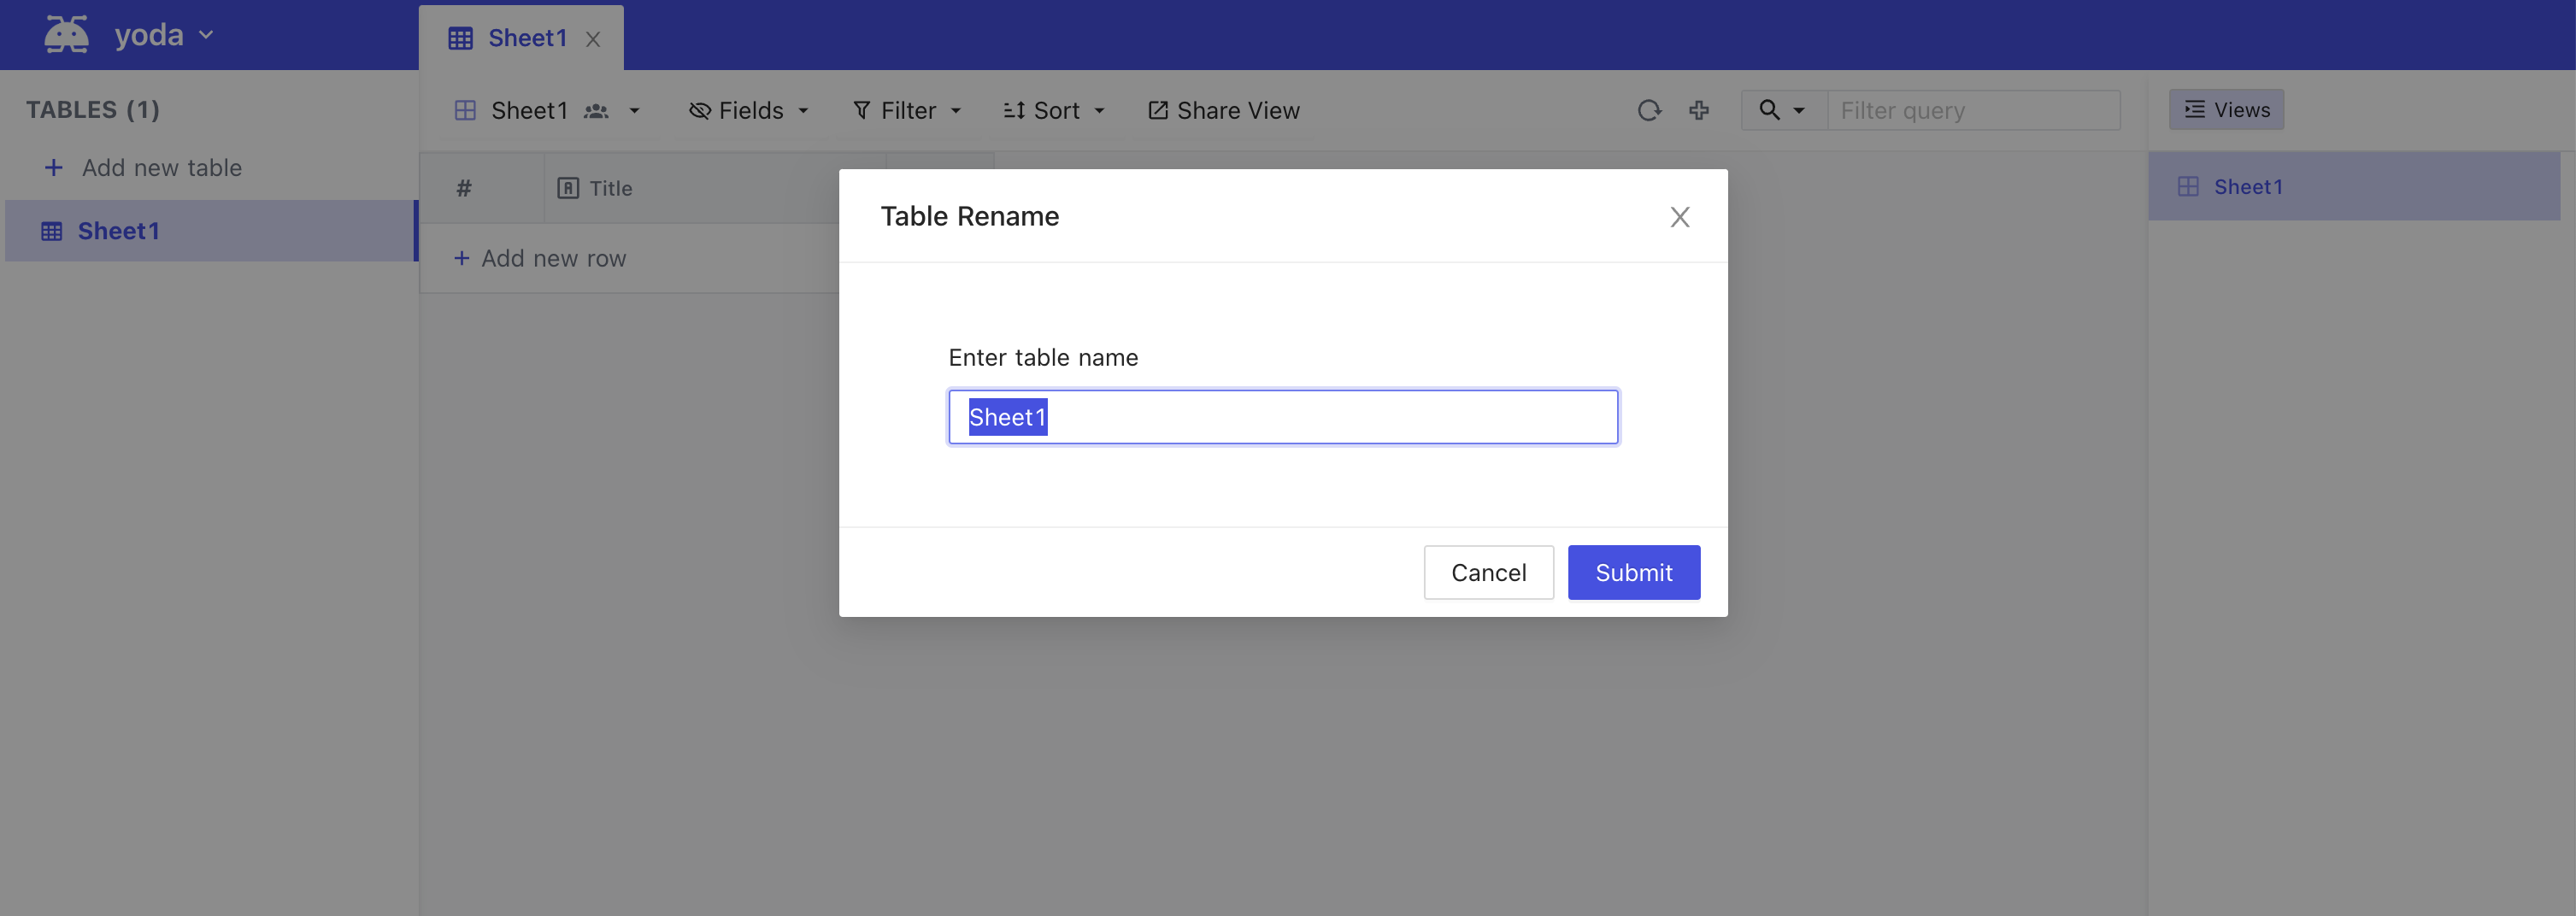
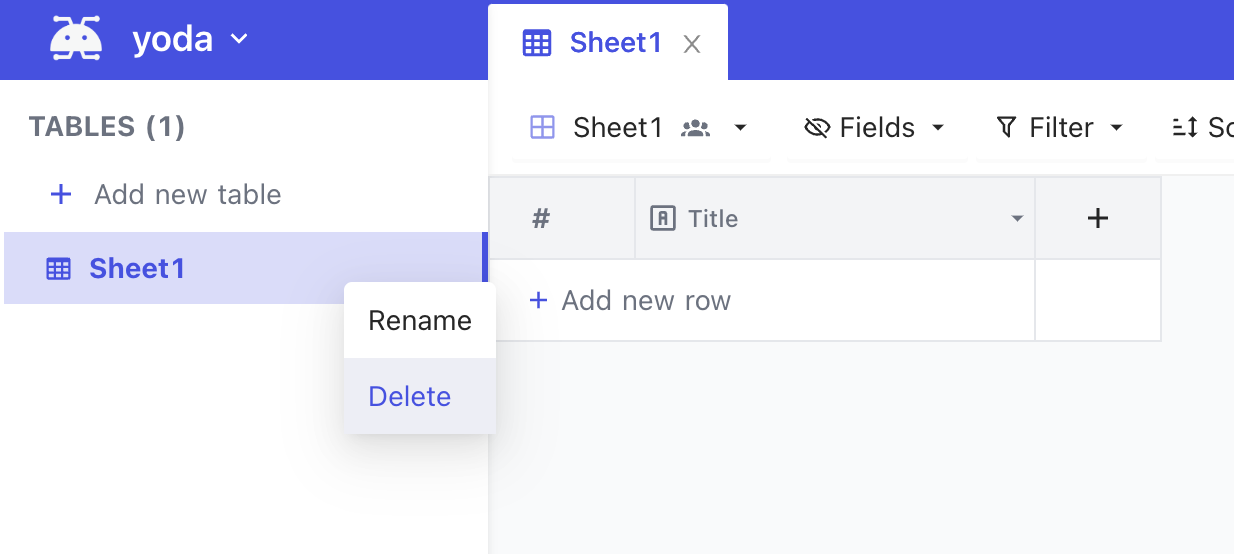
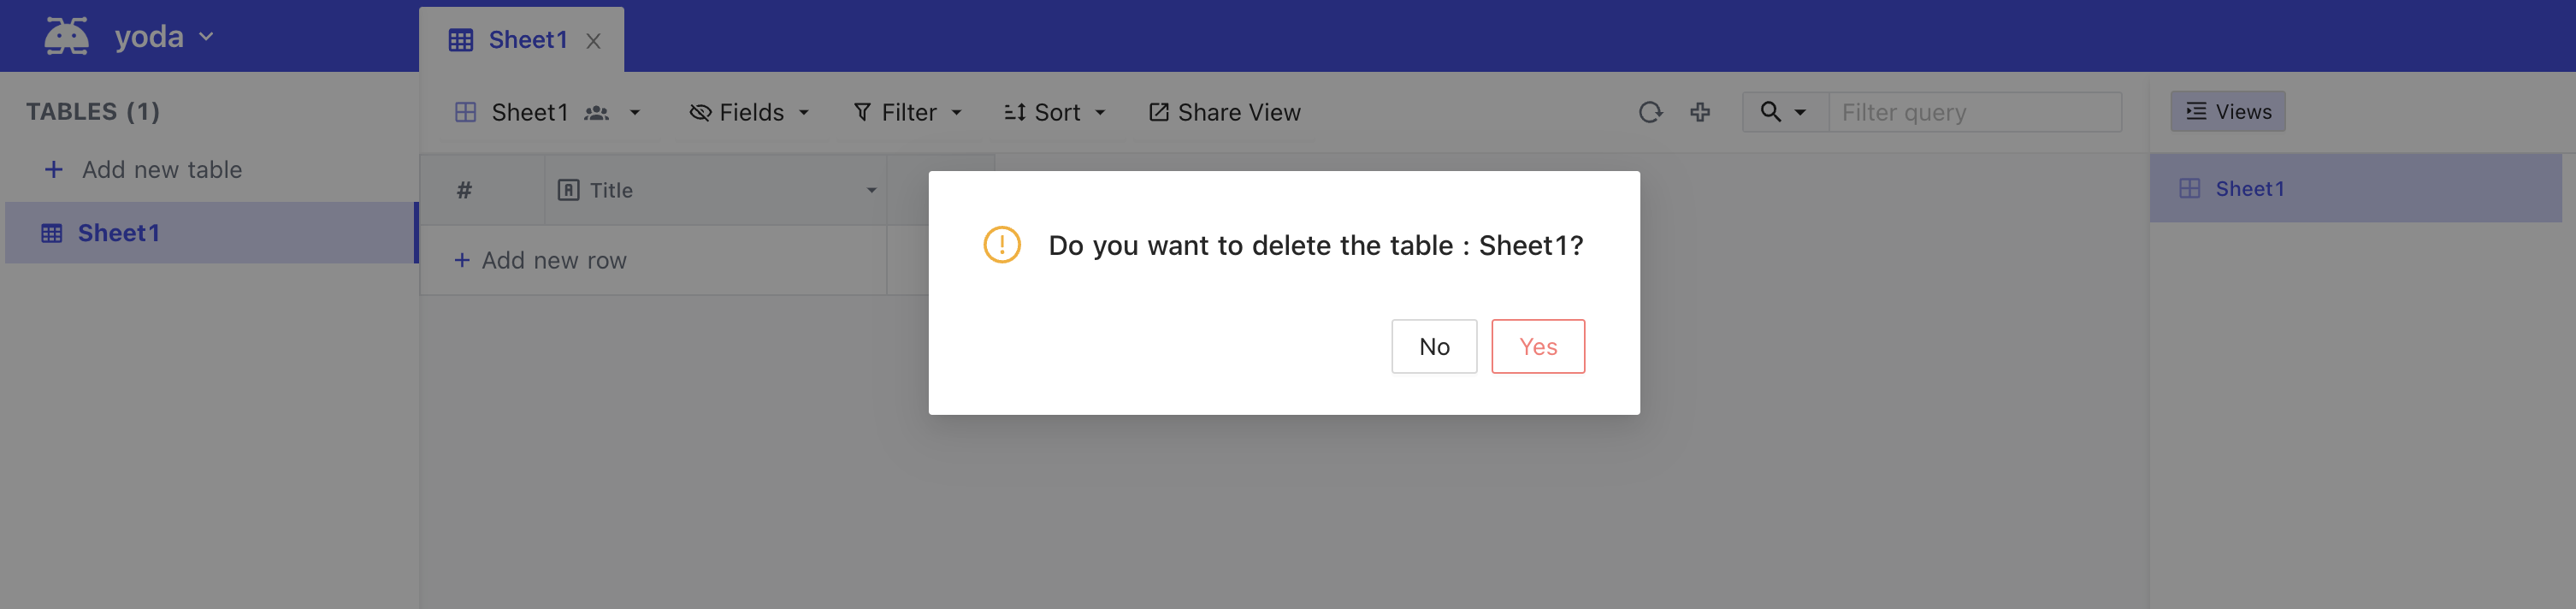
Table Delete
Right click on Table name on left hand project-tree menu, select Delete
Click Yes to confirm the table deletion
Column
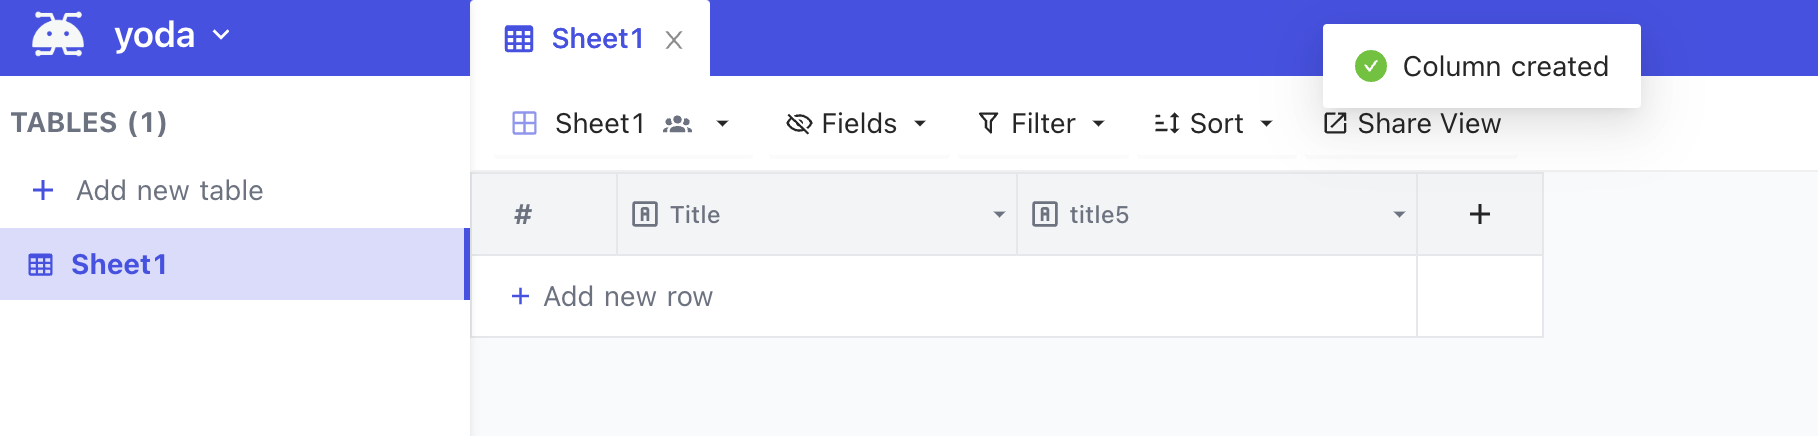
Column Add
Click the + icon on the right corner of the table.
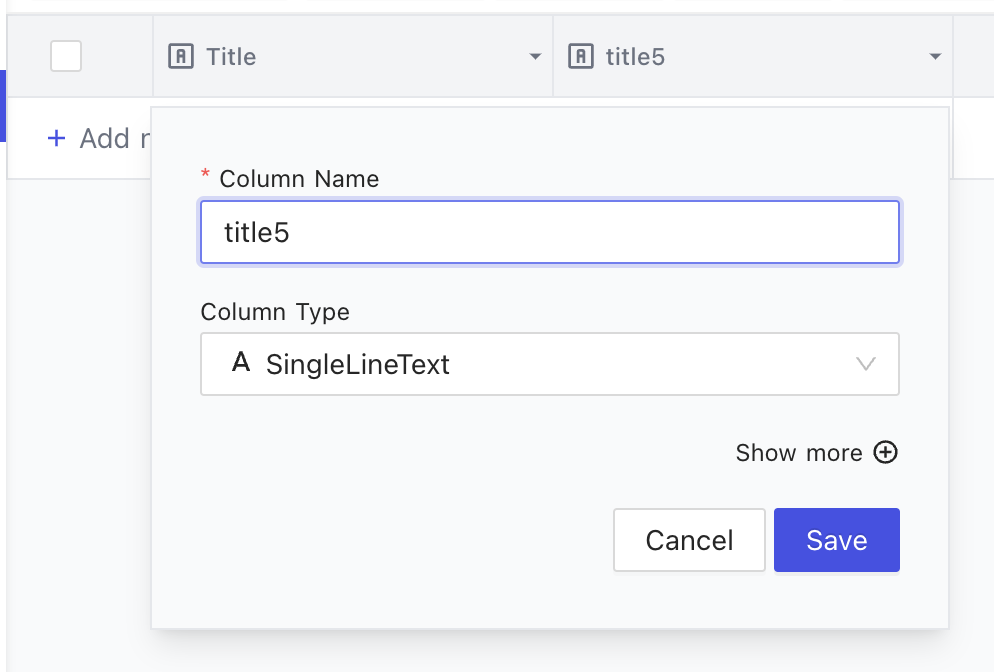
After the click, it will show a menu and you can enter the column name and choose the column type. (See Column Types for the full list).
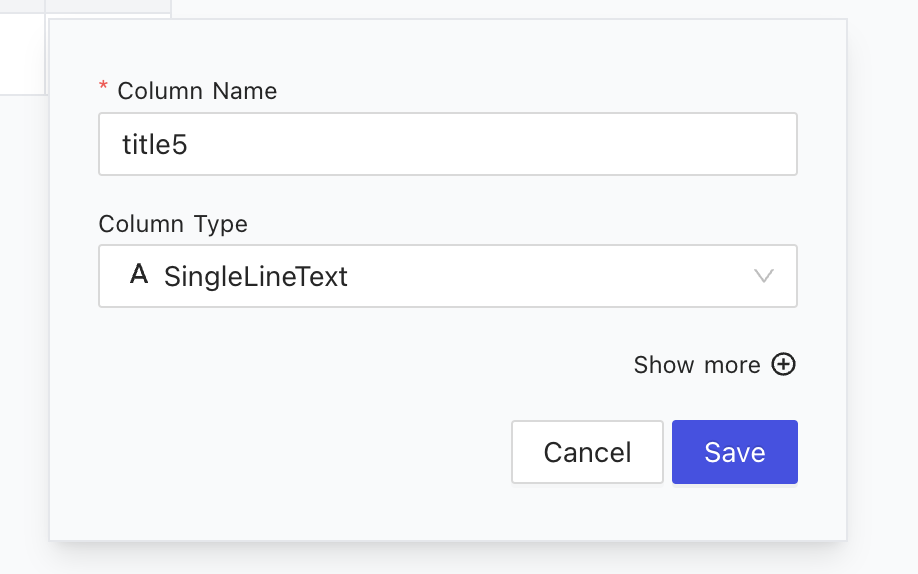
You can also click Show more for additional menu options.
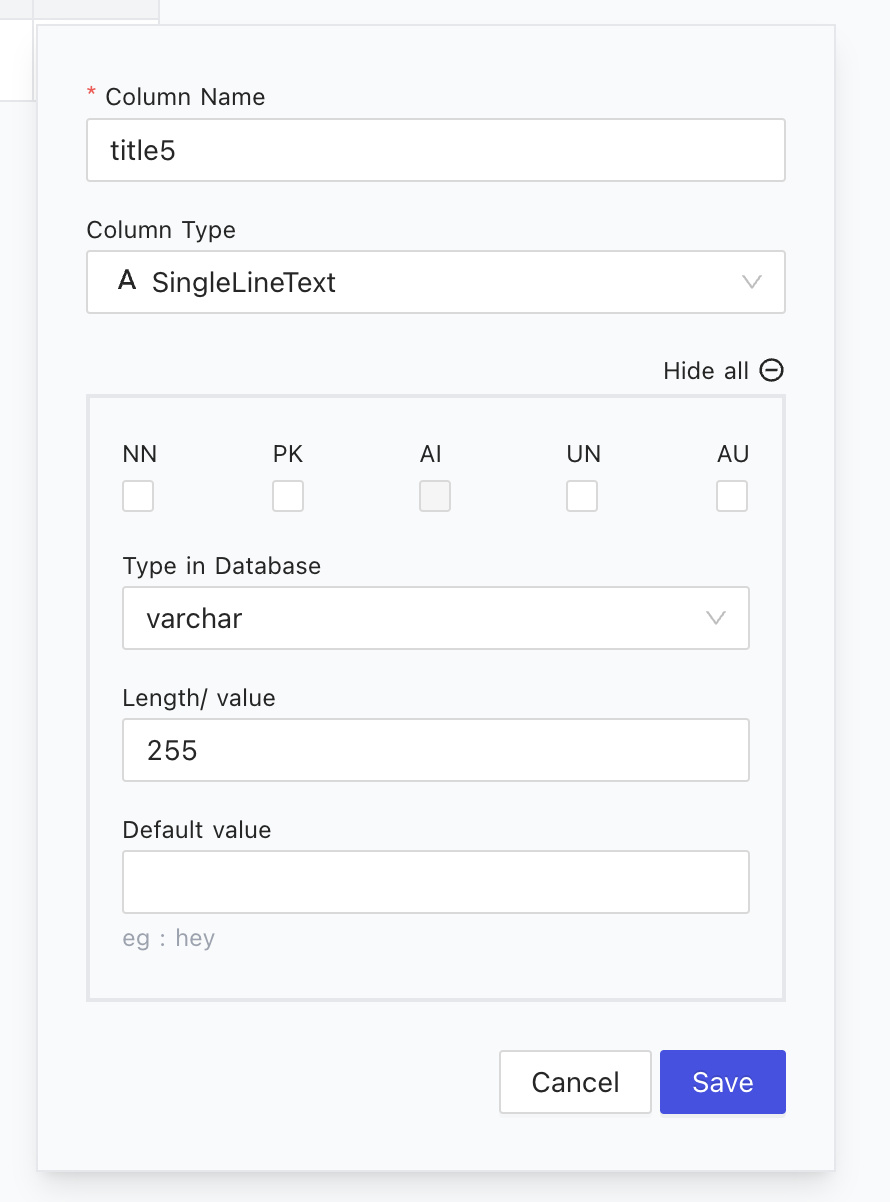
Click Save button to create the new column.
Column Edit
To edit column properties, click the down arrow, select Edit from the menu.
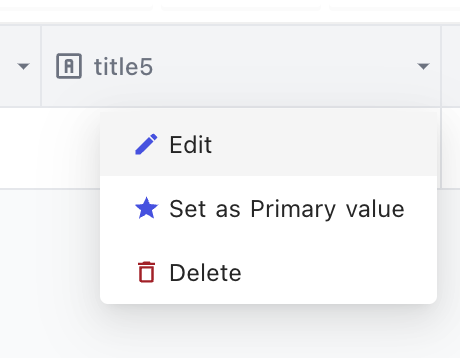
You will be able to edit column name & associated datatype using pop-up modal. You can also click Show more for additional menu options.
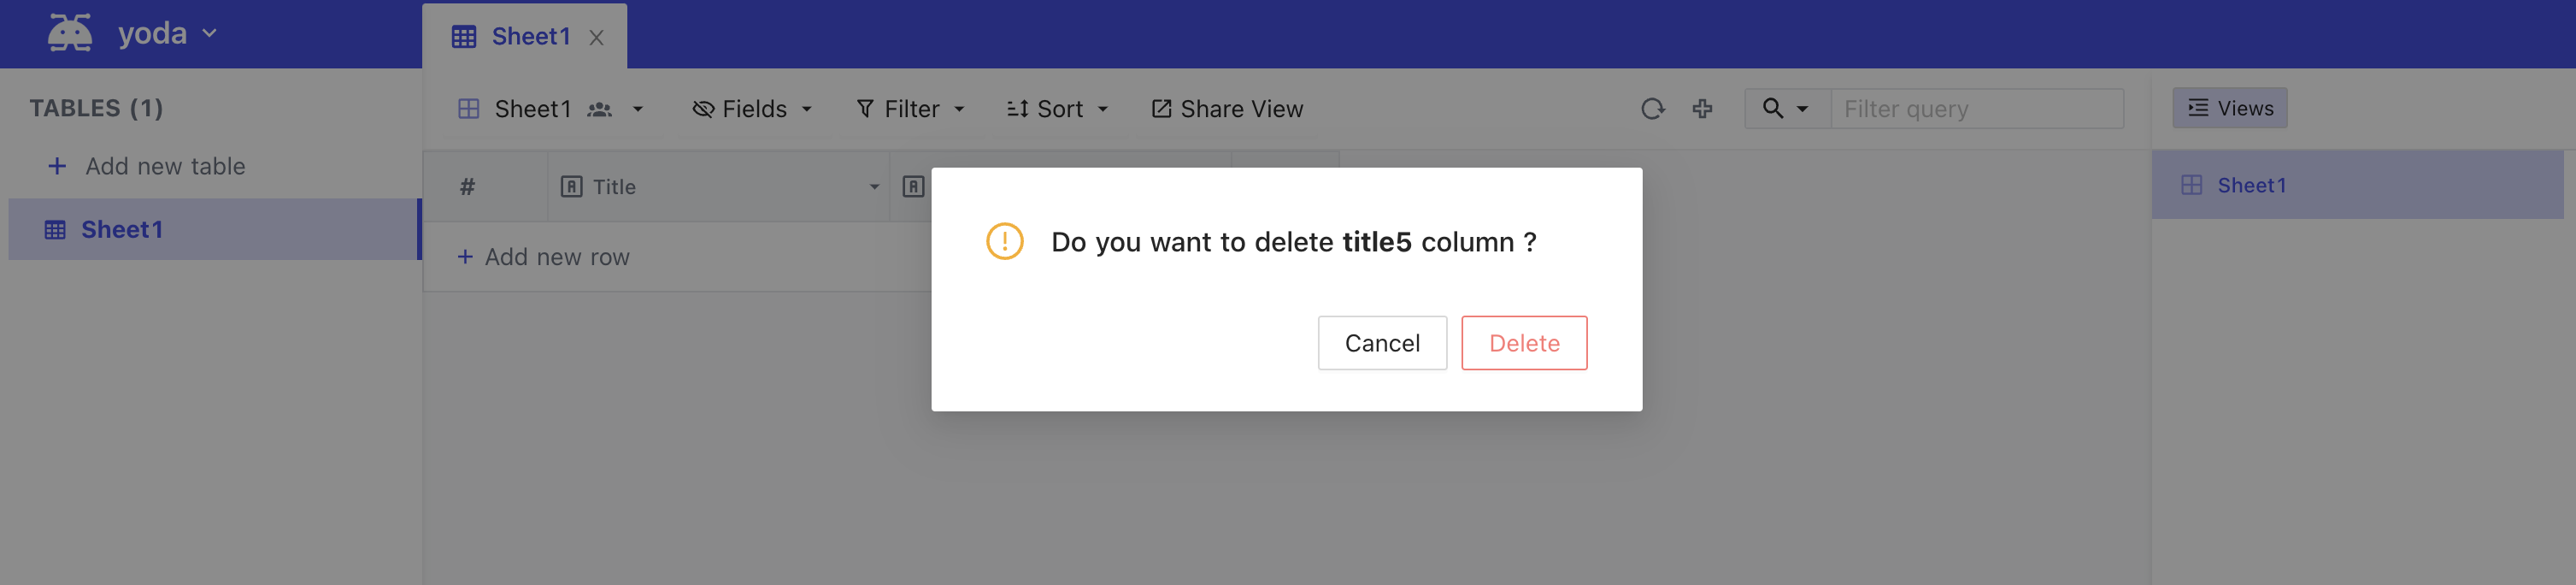
Column Delete
To delete a column, click the down arrow, select Delete from the menu.
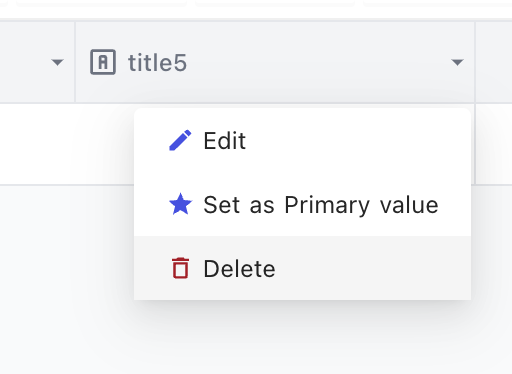
Click Yes to confirm the column deletion.
Row
For adding new values to the table we need new rows, new rows can be added in two methods.
Row Add (Using Form)
- Click the
+icon in the toolbar of the table tab.

- Then you can enter the values and click
Save row.

- After saving it will be there on your table.

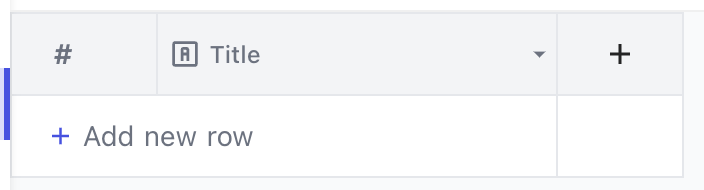
Row Add (Using Table Row at bottom of page)
- Click the bottom row of the table
+ Add new row.
- A new empty row will be created

Row Edit
You can start editing by any of the following methods
- Double click on cell to edit
- Click on cell and start typing (this way it will clear the previous content)
- Click on cell and press enter to start editing
- And it will automatically save on blur event or if inactive.
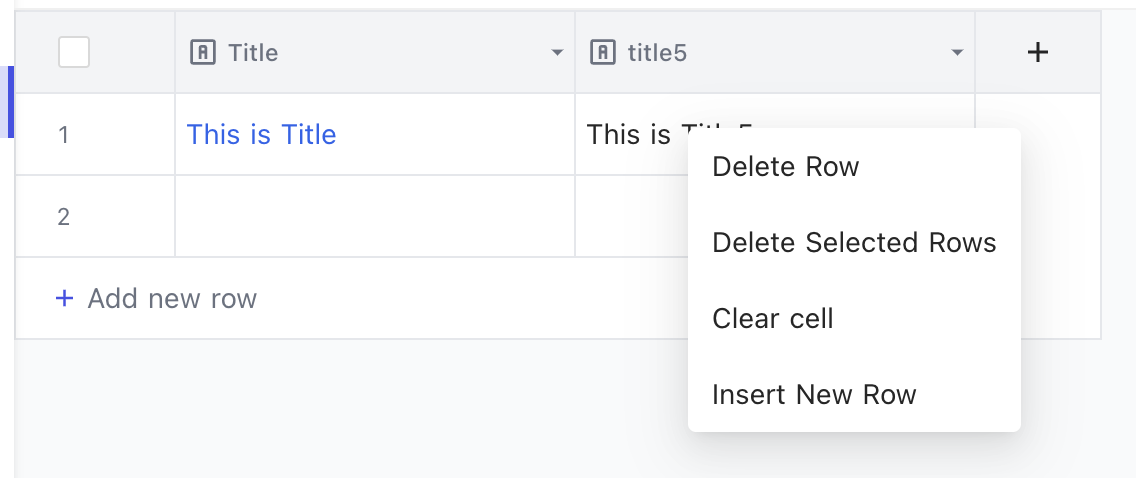
Row Delete
Right-click on anywhere in the row and then from the context menu select Delete Row option.
Bulk delete is also possible by selecting multiple rows by using the checkbox in first column and then Delete Selected Rows options from the right click context menu.
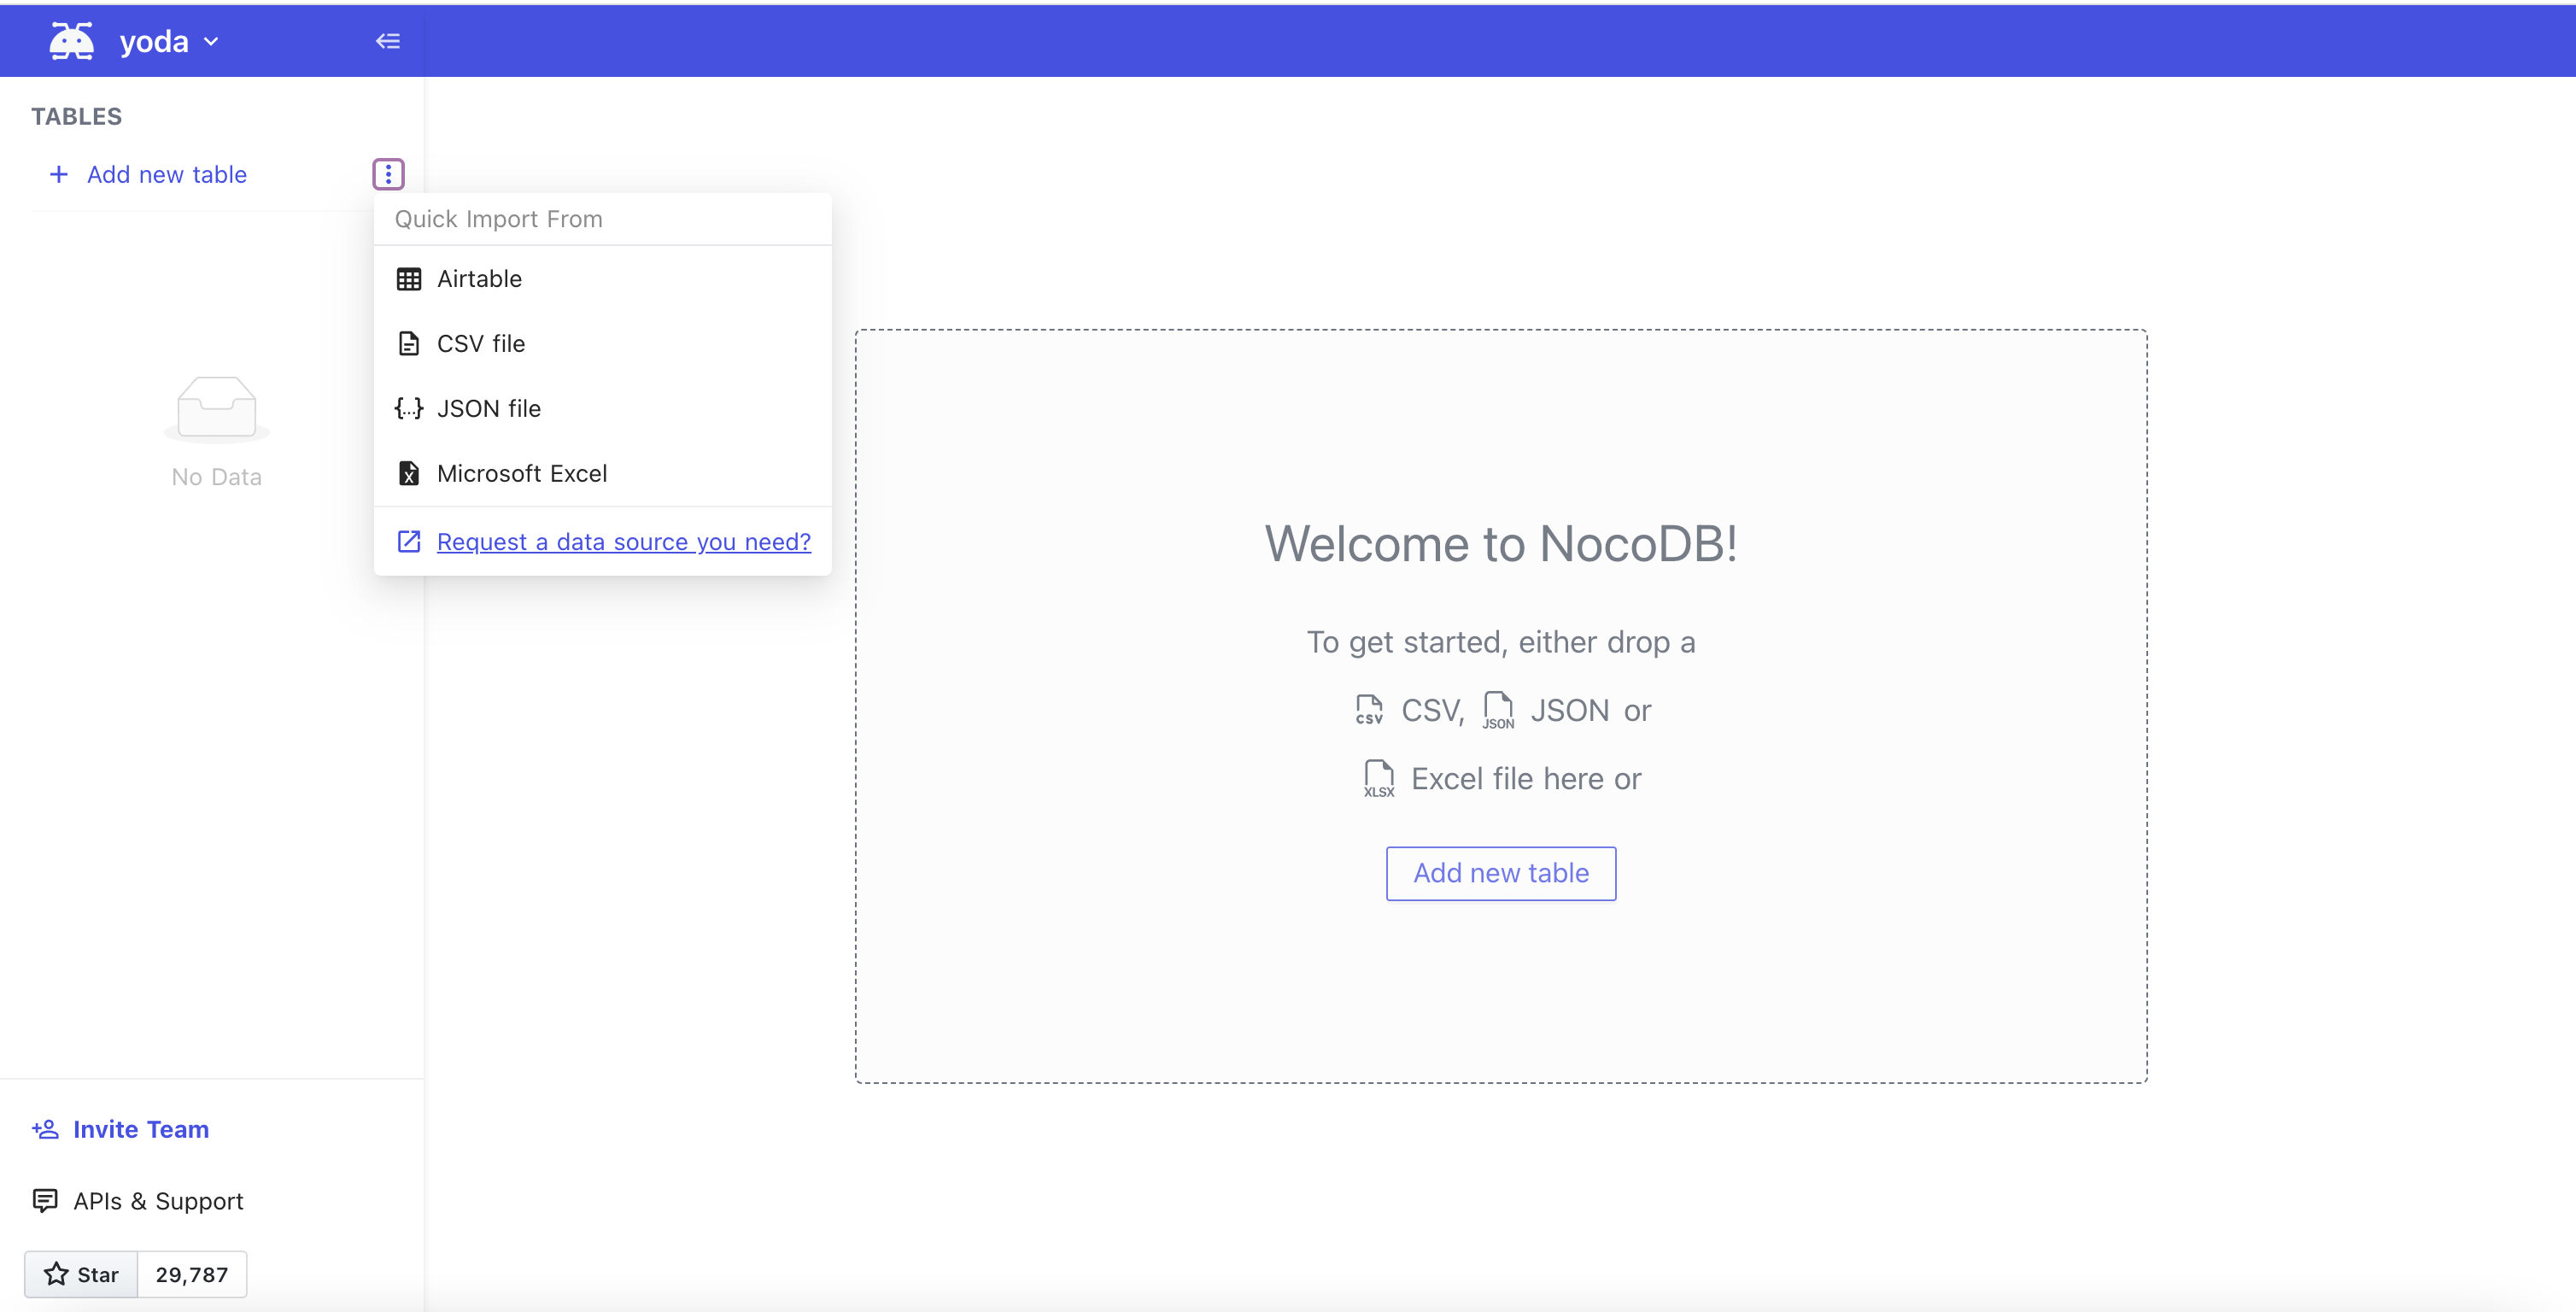
Quick Import
You can use Quick Import when you have data from external sources such as Airtable, CSV file or Microsoft Excel to an existing project by either
- Hover
Add new tablebutton in table menu, click three dots, use Quick Import to create - Drag and drop CSV, JSON or Excel file to import
Import Airtable into an existing project
- See here
Import CSV data into an existing project
- Hover
Add new tablebutton in table menu, click three dots, and clickCSV file - Drag & drop or select file to upload or specify CSV file URL

- Click
Import
- You can revise the table name by double clicking it, column name and column type. By default, the first column will be chosen as Primary Value and cannot be deleted.

- Click
Importto start importing process. The table will be created and the data will be imported.
Import Excel data into an existing project
-
Hover
Add new tablebutton in table menu, click three dots, and clickMicrosoft Excel -
Drag & drop or select file to upload or specify Excel file URL

-
You can revise the table name, column name and column type. By default, the first column will be chosen as Primary Value and cannot be deleted. Note: If your Excel file contains multiple sheets, each sheet will be stored in a separate table.

-
Click
Importto start importing process. The table(s) will be created and the data will be imported to the corresponding table(s).
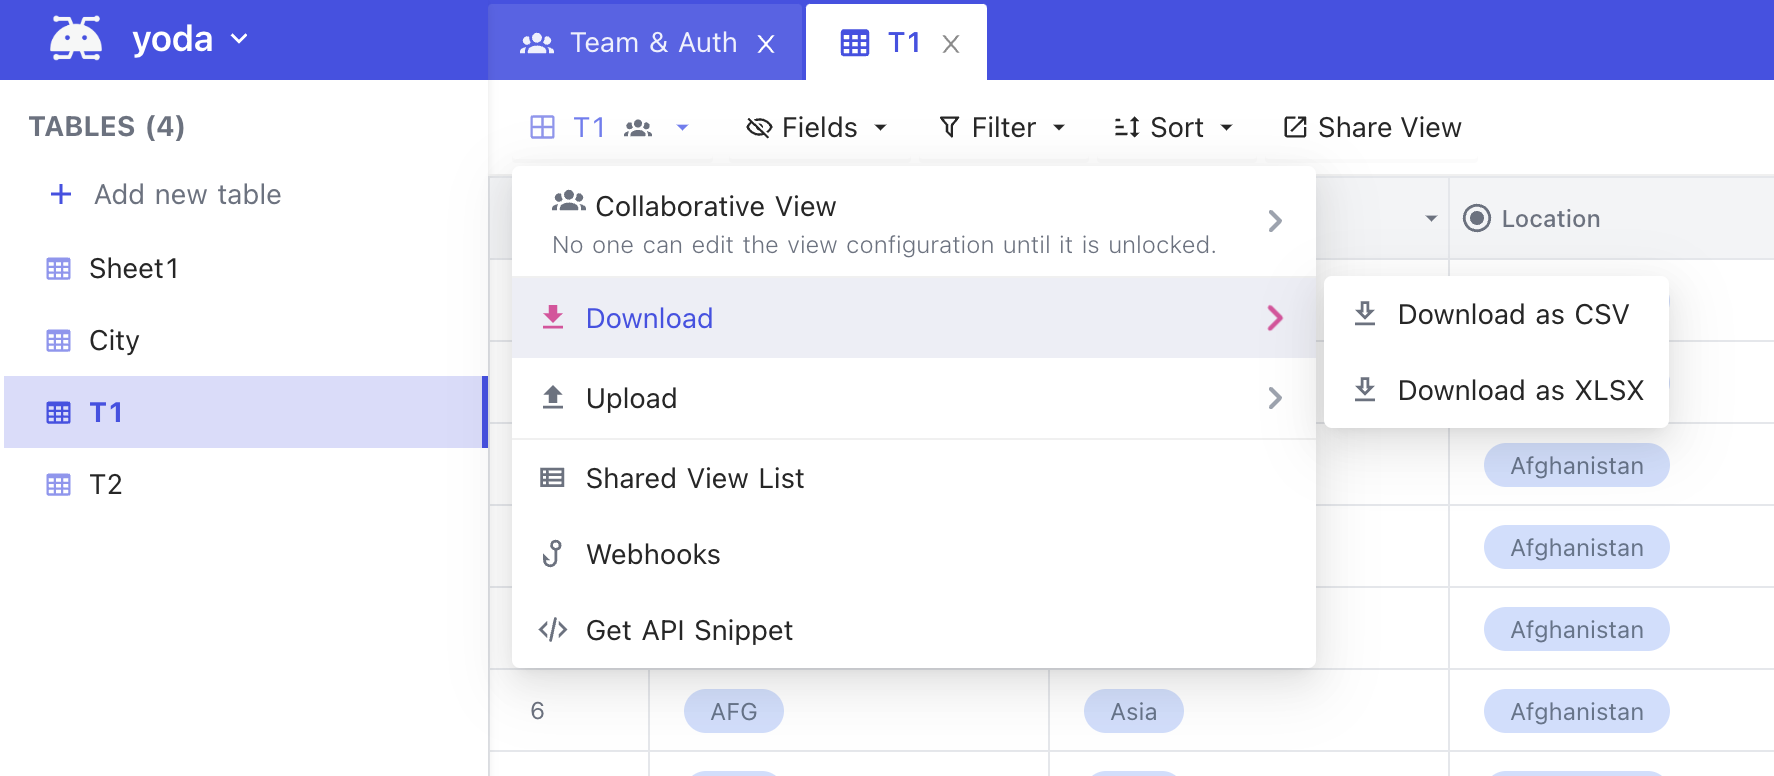
Export Data
You can export your data from a table as a CSV file by clicking the down arrow next to Table name and hover on Download. Currently only CSV and XLSX formats are supported for export.
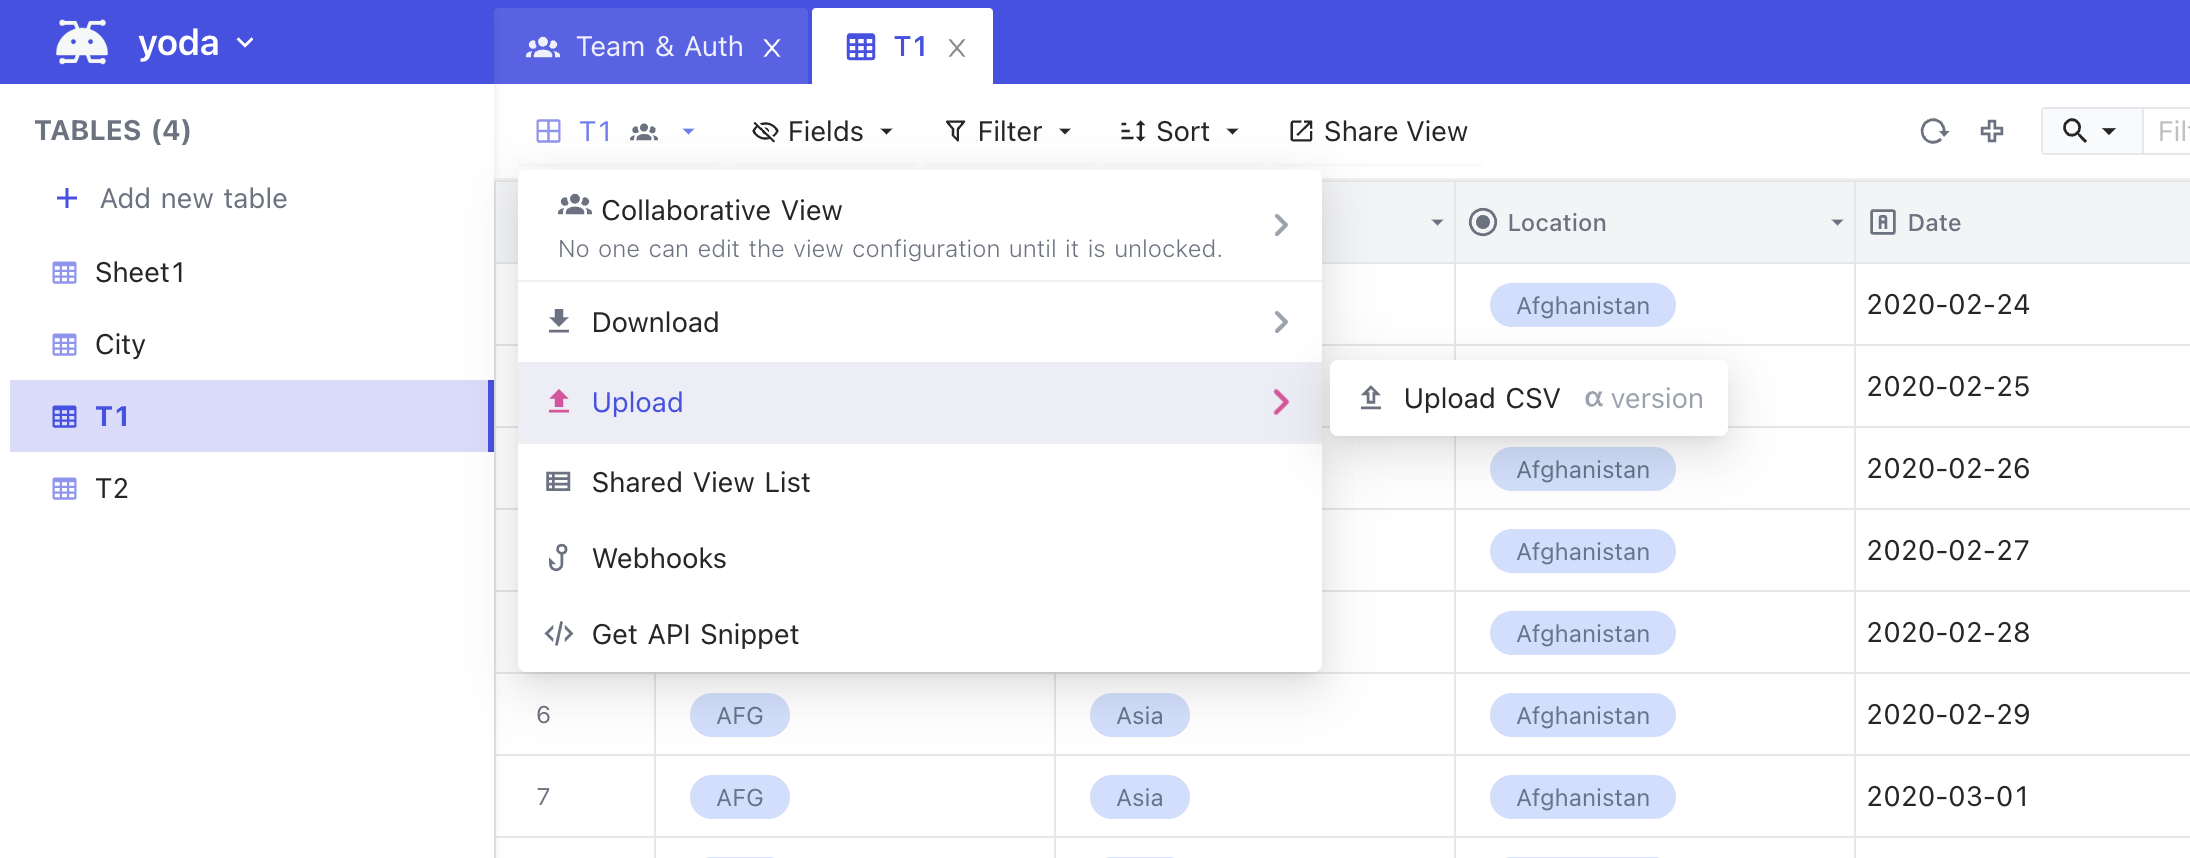
Import Data
You can import your data in CSV format to a table by clicking the down arrow next to Table name and hover on Upload. Currently only CSV format is supported for upload.