---
title: "Table Operations"
description: "Table Operations"
position: 510
category: "Product"
menuTitle: "Table Operations"
---
Once you have created a new NocoDB project you can open it, In the browser, the URL would be like `example.com/dashboard/#/nc/project_id`.
## Table
### Table Create
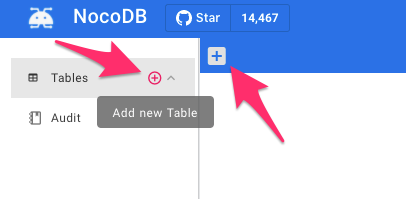
Now you can start creating new tables by simply clicking one of the following options.
On click, in modal popup, enter the table name, enable/disable default columns and click `Submit` button.
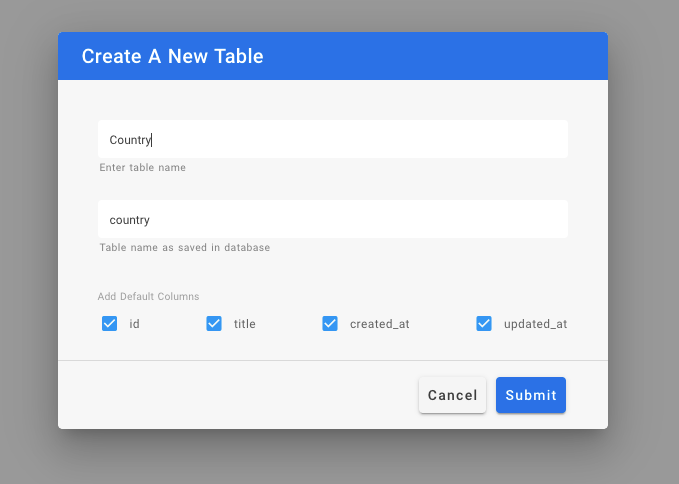
> You can't disable the `id` column since NocoDB need's a primary column for every table.
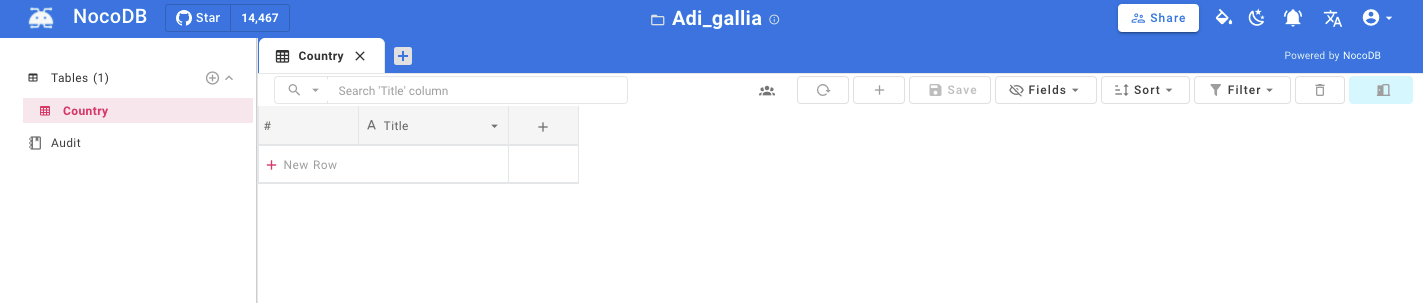
After the successful submission, the table will be created and open as a new tab.
### Table Rename
Right click on Table name on left hand project-tree menu, select `Rename`
In modal popup, enter new table name and click `Submit` button
 ### Table Delete
The table can be deleted using the `delete` icon present in the toolbar within the table tab.
### Table Delete
The table can be deleted using the `delete` icon present in the toolbar within the table tab.
 ## Column
### Column Add
Click the `+` icon on the right corner of the table.
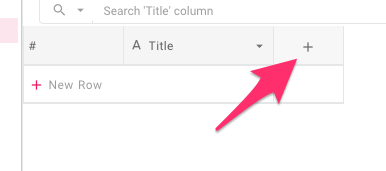
After the click, it will show a menu and you can enter the column name and choose the column type ([Abstract type](./abstract-types)).
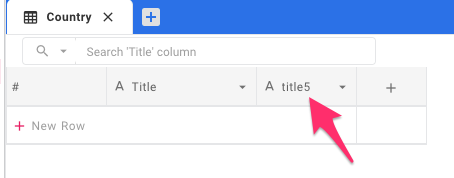
Click `Save`button to create the new column.
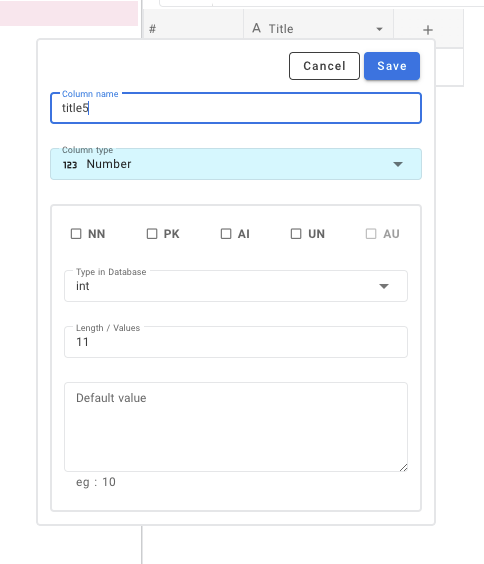
& we have new column created as part of our table
> For more about Abstract type [click here](./abstract-types).
### Column Edit
To edit column properties, click/hover on down arrow, select `Edit` from the menu.
## Column
### Column Add
Click the `+` icon on the right corner of the table.

After the click, it will show a menu and you can enter the column name and choose the column type ([Abstract type](./abstract-types)).
Click `Save`button to create the new column.

& we have new column created as part of our table

> For more about Abstract type [click here](./abstract-types).
### Column Edit
To edit column properties, click/hover on down arrow, select `Edit` from the menu.
 You will be able to edit column name & associated datatype using pop-up modal.
For additional menu options, click `Show more options`
You will be able to edit column name & associated datatype using pop-up modal.
For additional menu options, click `Show more options`
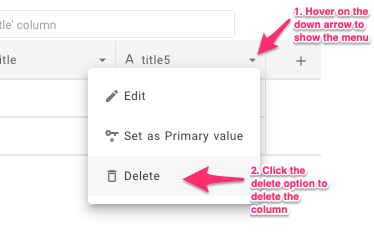
 ### Column Delete
Column deletion can be done by using the `delete` option from the column header menu.
## Row
For adding new values to the table we need new rows, new rows can be added in two methods.
### Row Add (Using Form)
- Click the `+` icon in the toolbar of the table tab.
### Column Delete
Column deletion can be done by using the `delete` option from the column header menu.

## Row
For adding new values to the table we need new rows, new rows can be added in two methods.
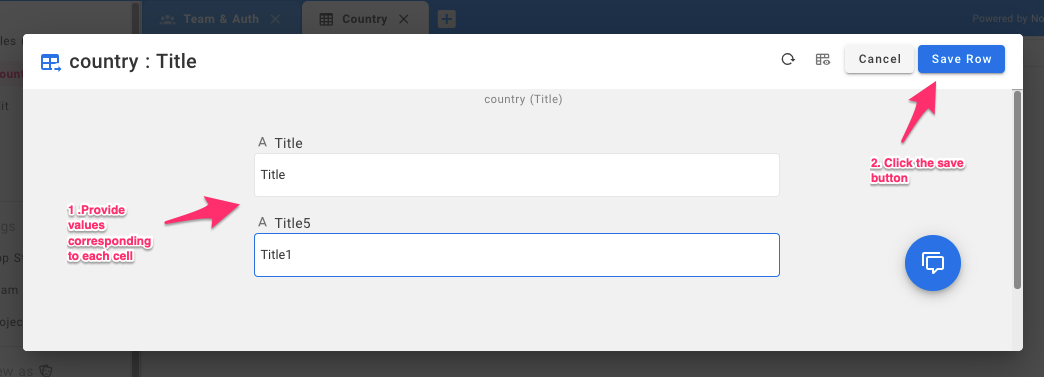
### Row Add (Using Form)
- Click the `+` icon in the toolbar of the table tab.
 - Now it will open a modal Form to enter the values, provide the values and press the save button.
 - After saving it will be there on your table.
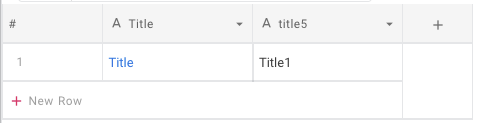
### Row Add (Using Table Row at bottom of page)
- Click the bottom row of the table which contains `+` icon at the beginning.
- After saving it will be there on your table.

### Row Add (Using Table Row at bottom of page)
- Click the bottom row of the table which contains `+` icon at the beginning.
 - Now it will add a new row in the table
### Row Edit
You can start editing by any of the following methods
- Double click on cell to edit
- Click on cell and start typing (this way it will clear the previous content)
- Click on cell and press enter to start editing
- And it will automatically save on blur event or if inactive.
### Row Delete
Right-click on anywhere in the row and then from the context menu select `Delete Row` option.
Bulk delete is also possible by selecting multiple rows by using the checkbox in first column and then `Delete Selected Rows` options from the right click context menu.
- Now it will add a new row in the table
### Row Edit
You can start editing by any of the following methods
- Double click on cell to edit
- Click on cell and start typing (this way it will clear the previous content)
- Click on cell and press enter to start editing
- And it will automatically save on blur event or if inactive.
### Row Delete
Right-click on anywhere in the row and then from the context menu select `Delete Row` option.
Bulk delete is also possible by selecting multiple rows by using the checkbox in first column and then `Delete Selected Rows` options from the right click context menu.
