---
title: "Table Operations"
description: "Table Operations"
position: 510
category: "Product"
menuTitle: "Table Operations"
---
Once you have created a new NocoDB project you can open it, In the browser, the URL would be like `example.com/dashboard/#/nc/project_id` .
## Table
### Table Create
Now you can start creating new tables by simply clicking one of the following options.
- Click the plus button next to Table menu
- Click Add / Import, then click Add new table
< img width = "632" alt = "image" src = "https://user-images.githubusercontent.com/35857179/168772379-63d7e92c-39ce-4d91-ac1e-279591833e0e.png" >
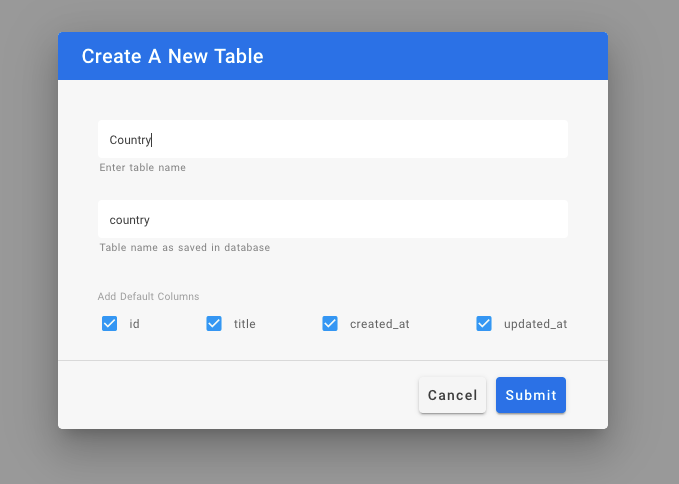
A modal will be popped up. Input the corresponding info and enable or disable default columns and click `Submit` button.
< alert >
Note: You can't disable the `id` column since NocoDB needs a primary column for every table. You can rename it after the creation.
< / alert >
After the successful submission, the table will be created and open as a new tab.

### Table Rename
Right click on Table name on left hand project-tree menu, select `Rename`
In modal popup, enter new table name and click `Submit` button
< img src = "https://user-images.githubusercontent.com/86527202/144403447-1b2e4368-eb2b-40c0-901a-54e8adf9a80c.png" width = "60%" / >
### Table Delete
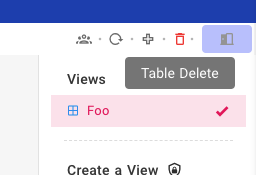
The table can be deleted using the `delete` icon present in the toolbar within the table tab.
## Column
### Column Add
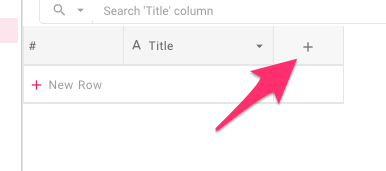
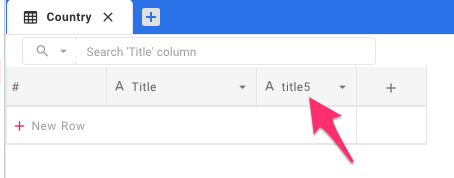
Click the `+` icon on the right corner of the table.
After the click, it will show a menu and you can enter the column name and choose the column type ([Abstract type](./abstract-types)).
Click `Save` button to create the new column.
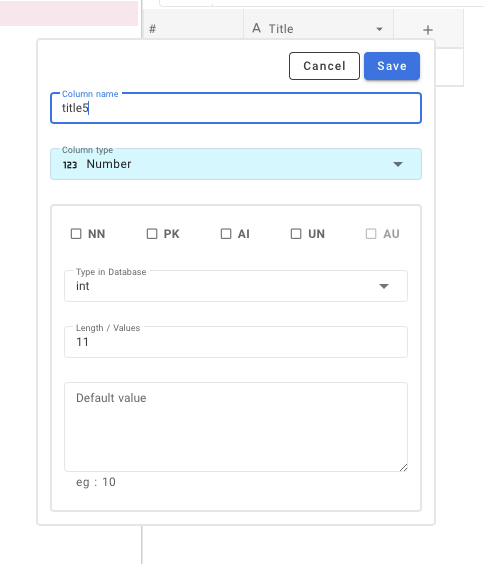
& we have new column created as part of our table
> For more about Abstract type [click here](./abstract-types).
### Column Edit
To edit column properties, click/hover on down arrow, select `Edit` from the menu.
< img src = "https://user-images.githubusercontent.com/86527202/144404169-80d8b514-53cf-4bb1-8323-fd3cfda8816b.png" width = "50%" / >
You will be able to edit column name & associated datatype using pop-up modal.
For additional menu options, click `Show more options`
< img src = "https://user-images.githubusercontent.com/86527202/144404188-146ab0dc-bd2b-4902-9369-a34253e2fad6.png" width = "40%" / >
### Column Delete
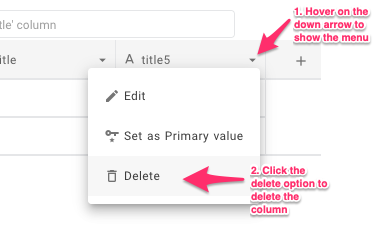
Column deletion can be done by using the `delete` option from the column header menu.
## Row
For adding new values to the table we need new rows, new rows can be added in two methods.
### Row Add (Using Form)
- Click the `+` icon in the toolbar of the table tab.
< img src = "https://user-images.githubusercontent.com/86527202/144405563-50573b1c-1bd3-43ea-8020-357fc7ef9e42.png" width = "50%" / >
- Now it will open a modal Form to enter the values, provide the values and press the save button.
< img src = "https://user-images.githubusercontent.com/61551451/126784347-b82f9dfd-4c6d-4d65-be07-80e051ff19de.png" width = "75%" >
- After saving it will be there on your table.

### Row Add (Using Table Row at bottom of page)
- Click the bottom row of the table which contains `+` icon at the beginning.
< img src = "https://user-images.githubusercontent.com/86527202/144405773-bb0d00ef-264d-4941-b01f-3b7f0b1fc54d.png" width = "40%" / >
- Now it will add a new row in the table
### Row Edit
You can start editing by any of the following methods
- Double click on cell to edit
- Click on cell and start typing (this way it will clear the previous content)
- Click on cell and press enter to start editing
- And it will automatically save on blur event or if inactive.
### Row Delete
Right-click on anywhere in the row and then from the context menu select `Delete Row` option.
Bulk delete is also possible by selecting multiple rows by using the checkbox in first column and then `Delete Selected Rows` options from the right click context menu.
< img src = "https://user-images.githubusercontent.com/86527202/144406191-ccff1382-e808-44e8-babe-bd937faf1b3d.png" width = "40%" / >
## Quick Import
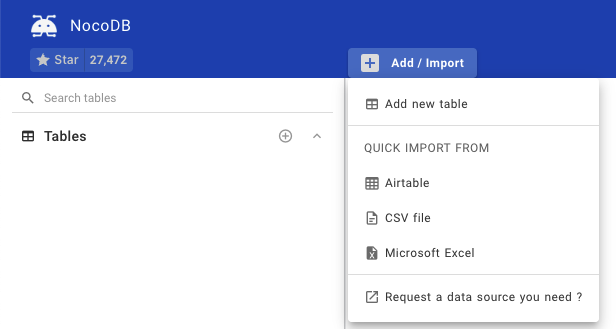
You can use Quick Import when you have data from external sources such as Airtable, CSV file or Microsoft Excel to an existing project by clicking `Add / Import` and choosing the corresponding options.
### Import Airtable into an existing project
- Click `Add / Import` and click `Airtable`
- Input API key & Shared Base ID / URL (See < a href = "./import-airtable-to-sql-database-within-a-minute-for-free" target = "_blank" > here</ a > for the guideline to retrieve the credentials)
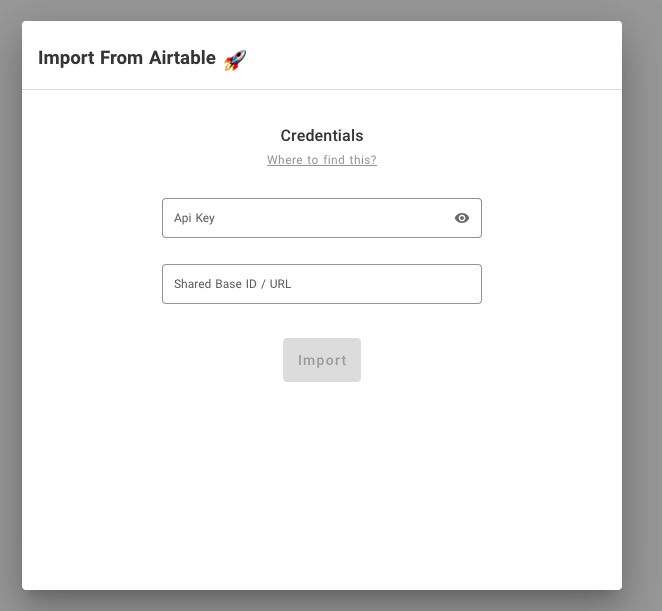
- Click `Import` and you will see the status
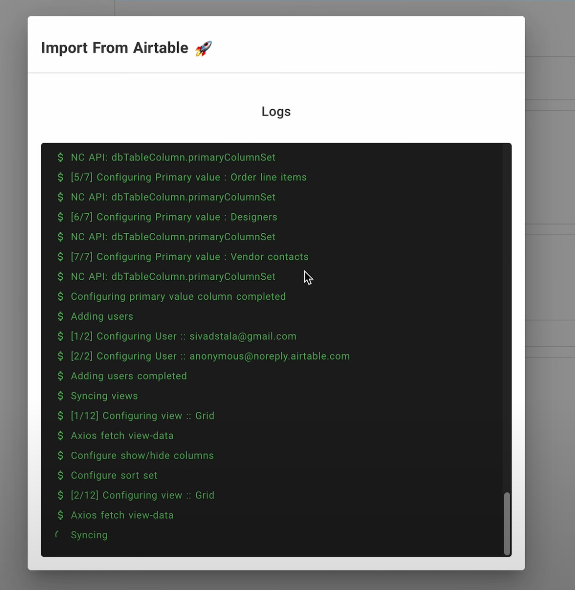
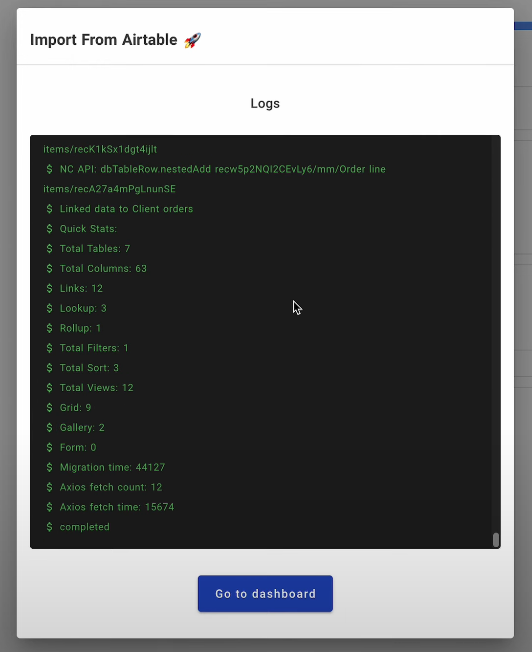
- Click `Go to dashboard` after the sync is finished
### Import CSV data into an existing project
- Click `Add / Import` and click `CSV file`
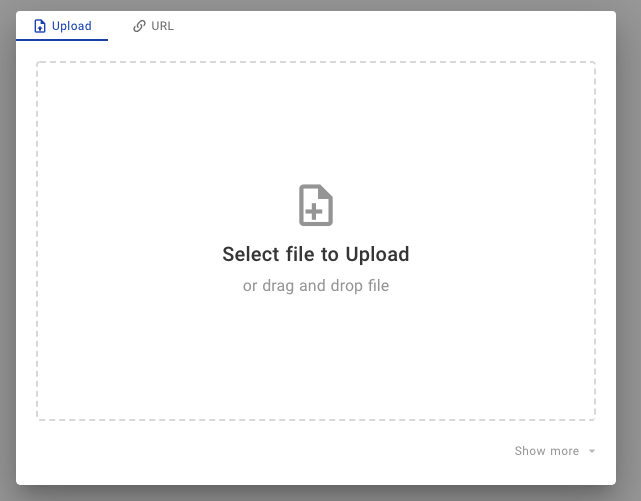
- Drag & drop or select file to upload or specify Excel file URL
- You can revise the table name, column name and column type. By default, the first column will be chosen as < a href = "./primary-value" target = "_blank" > Primary Value</ a > and cannot be deleted.
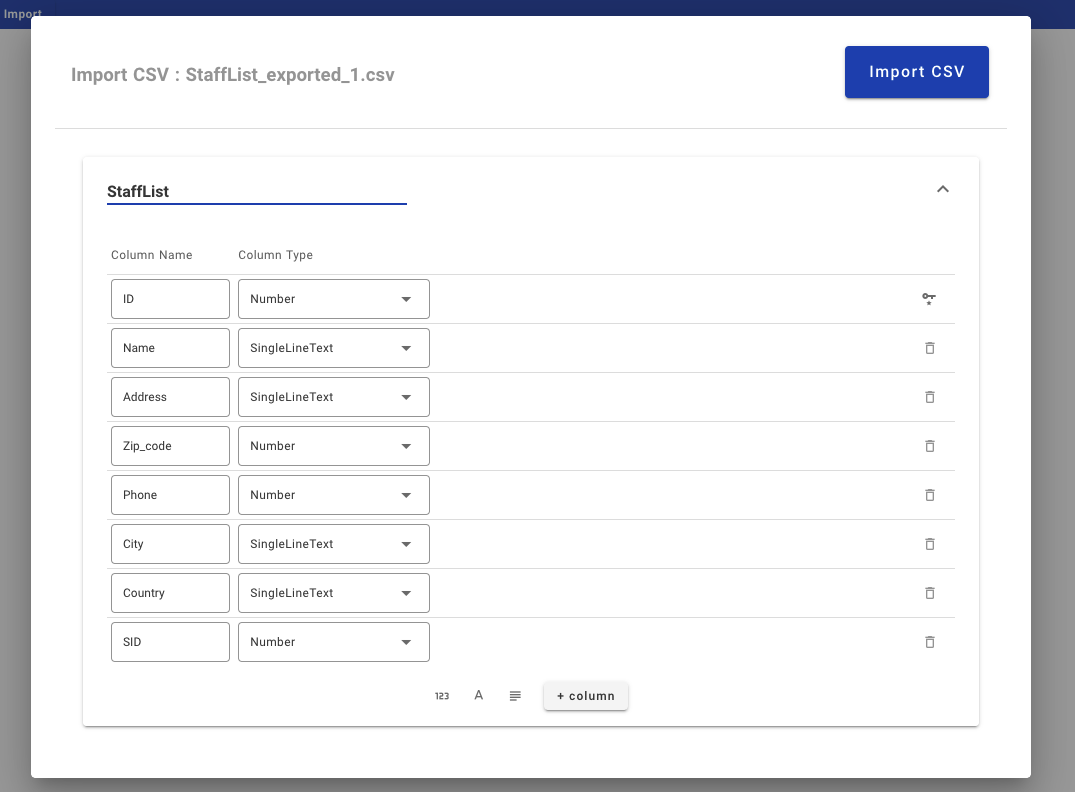
- Click `Import CSV` to start importing process. The table will be created and the data will be imported.

### Import Excel data into an existing project
- Click `Add / Import` and click `Microsoft Excel`
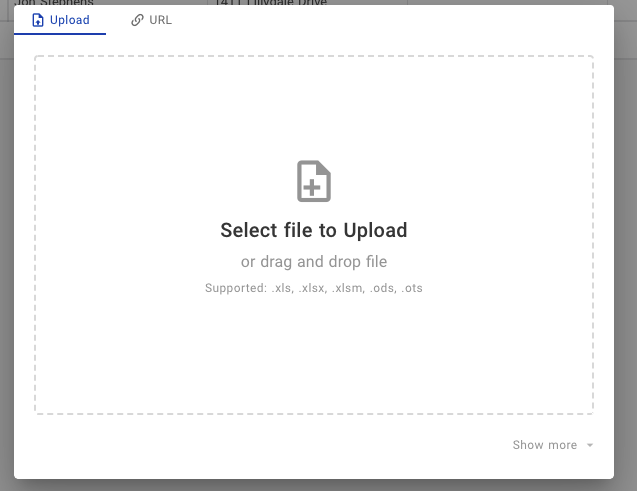
- Drag & drop or select file to upload or specify Excel file URL
- You can revise the table name, column name and column type. By default, the first column will be chosen as < a href = "./primary-value" target = "_blank" > Primary Value</ a > and cannot be deleted.
< alert >
Note: If your Excel file contains multiple sheets, each sheet will be stored in a separate table.
< / alert >
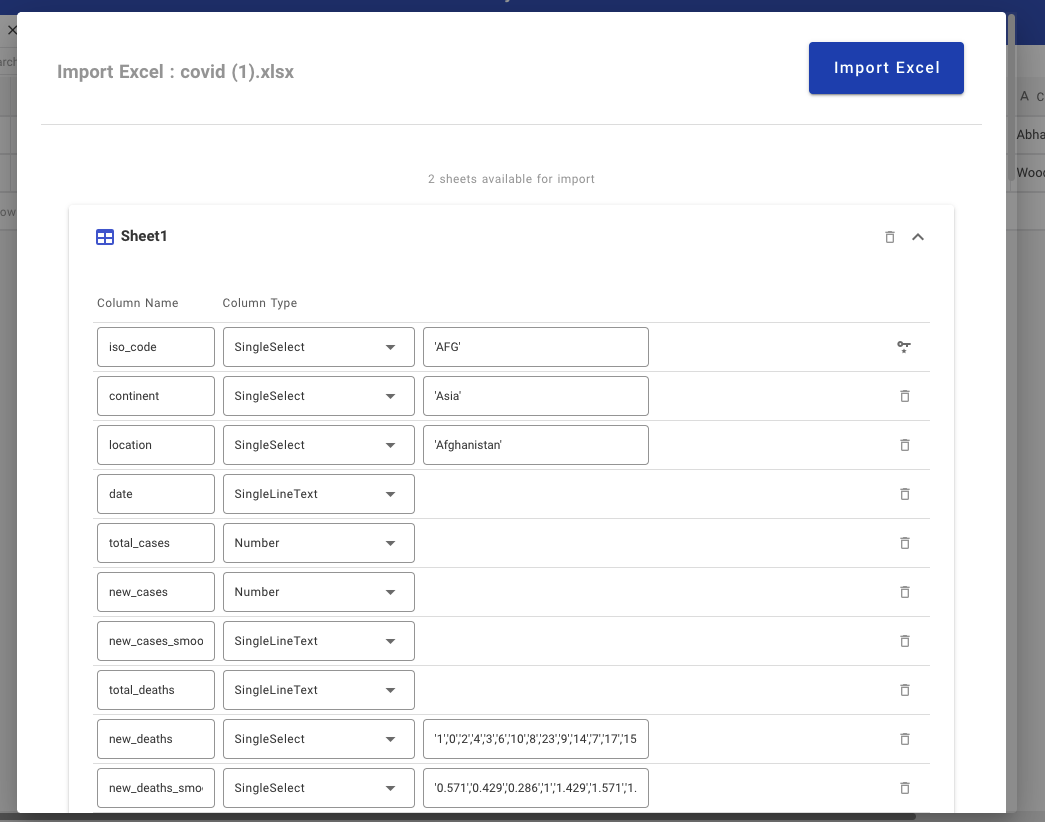
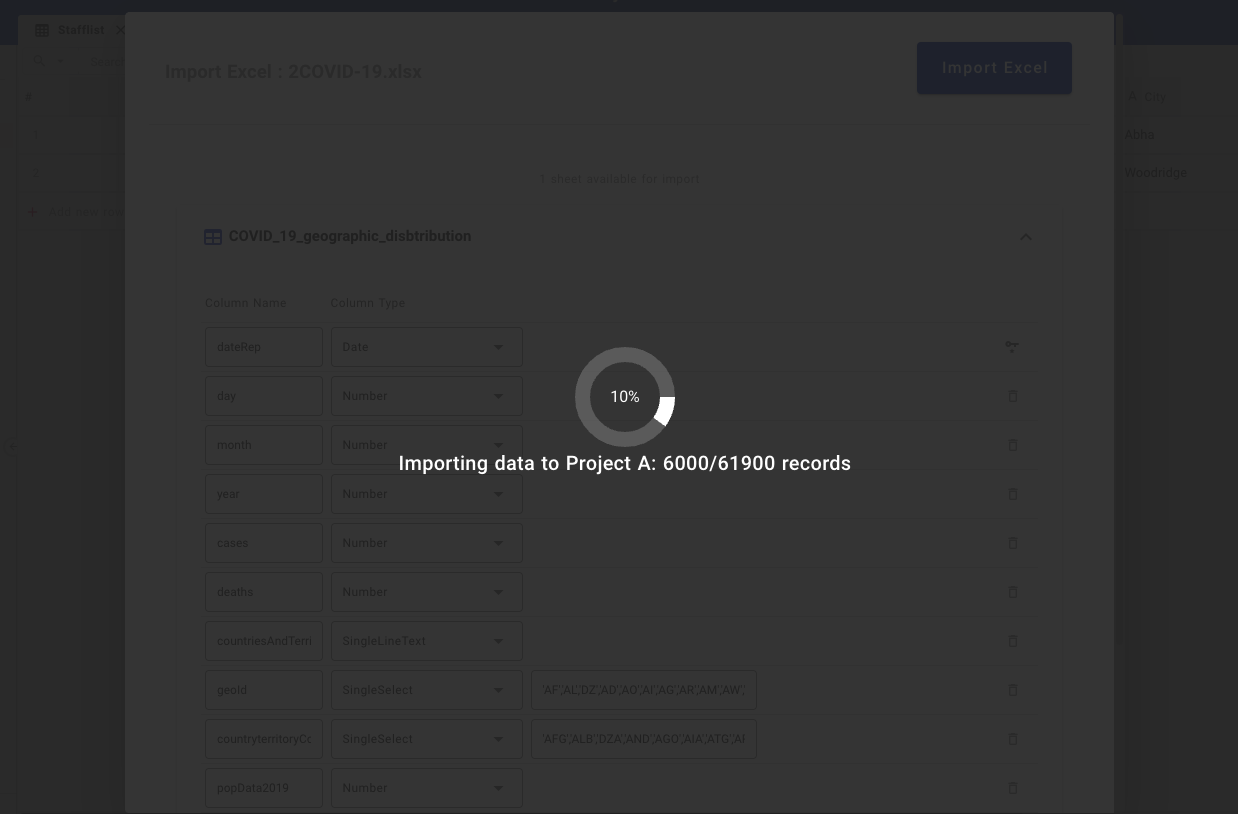
- Click `Import Excel` to start importing process. The table(s) will be created and the data will be imported to the corresponding table(s).
## Export Data
You can export your data from a table as a CSV file by clicking `More` and `Download as CSV` .

## Import Data
You can import your data in CSV format to a table by clicking `More` and `Upload CSV` .
