keywords: ['NocoDB', 'Airtable', 'import Airtable', 'Airtable to NocoDB', 'Airtable to MySQL', 'Airtable to Postgres', 'Airtable to SQLite', 'Airtable to SQL server']
NocoDB offers a streamlined process for seamlessly transferring your Airtable database to various database management systems, including MySQL, Postgres and SQLite, in just a matter of minutes. This feature is particularly useful for users who wish to migrate their Airtable database to a more robust and scalable database management system.
:::info
Import from Airtable is in beta version. See [Importing Airtable To NocoDB](https://github.com/nocodb/nocodb/discussions/2122) for the migration notes.
:::
:::info
To proceed, you must have valid Airtable Credentials. Ensure you have access to the following information from your Airtable account:
- [API key](#retrieve-api-key) or [Personal Access Token](#create-personal-access-token)
- [Shared Base ID / URL](#retrieve-share-base-id--url)
:::
Below are 3 simple steps
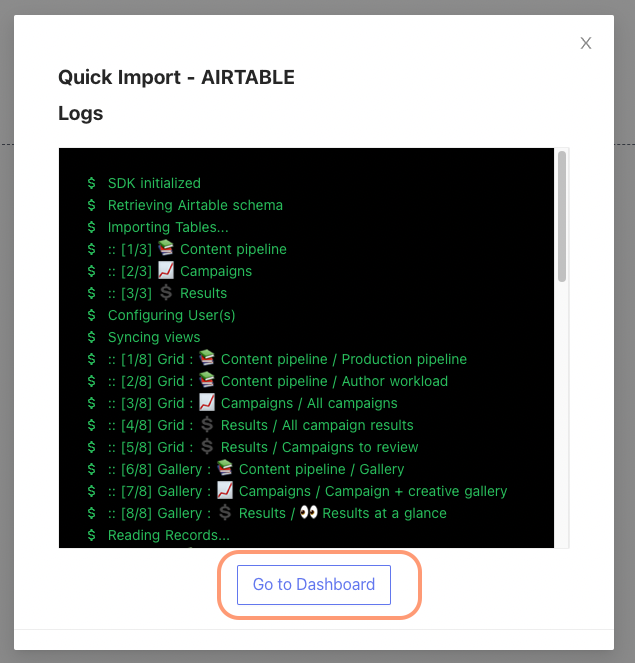
1. Go to your Base dashboard, click on `Import Data`
[//]: # ()
### Configuration options
1.**Import Data**: You have the option to disable this feature to import only the schema information of tables and views, excluding actual data records.
2.**Import Secondary Views**: If you disable this option, only the primary grid view for each table will be imported, omitting any secondary views.
3.**Import Rollup Columns**: By deactivating this choice, you can skip the import of Rollup columns, which aggregate data from other columns.
4.**Import Lookup Columns**: You can choose not to import Lookup columns by disabling this option. Lookup columns are used to reference data from another table.
5.**Import Attachments Columns**: Disable this option if you wish to exclude the import of Attachment columns, which typically store file attachments associated with records.
6.**Import Formula Columns**: Please be aware that this option is not currently available for use, and therefore, cannot be selected for import at this time.
## Get Airtable Credentials
### Create Personal Access Token
Here are the steps to generate an Airtable Personal Access Token:
1. Visit the [Airtable Create Tokens](https://airtable.com/create/tokens) page and click the "Create token" button.
2. Provide a meaningful name for your token in the `Token name` field.
3. Choose the necessary access scopes, with a minimum requirement of `data.records:read`.
4. Select the specific Base you wish to access with this token.
5. Confirm your choices by clicking the `Create token` button.
6. Copy the newly generated `Personal Access Token` for your use.
For detailed information, you can refer to the [Airtable Personal Access Token guide](https://airtable.com/developers/web/guides/personal-access-tokens).


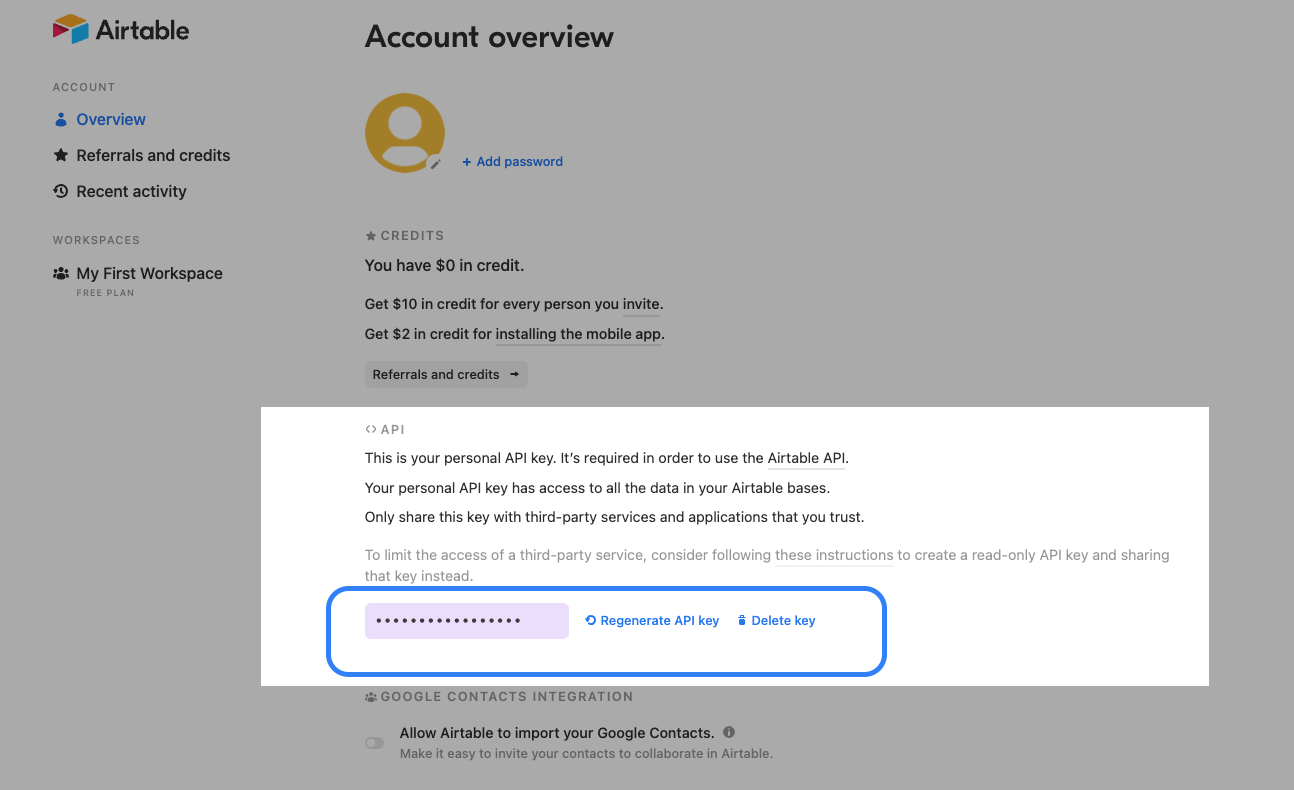
### Retrieve API Key
- Copy your Airtable API Key from [Airtable Accounts](https://airtable.com/account) page
### Retrieve Share Base ID / URL
See [here](https://support.airtable.com/hc/en-us/articles/205752117-Creating-a-base-share-link-or-a-view-share-link#basesharelink) for detailed procedures.